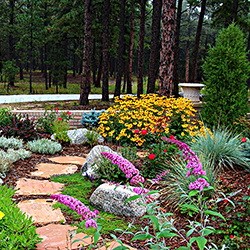
“The Earth laughs
in flowers.”
~ Ralph Waldo Emerson
If your pansies were too nice to take out in June but are looking sad now, replace them with some heat-loving annuals like periwinkle, salvia, marigolds, celosia, gazania, geraniums, portulaca, or verbena for a great color show in summer.
“Dead-head” (pinch off the spent blooms) on perennials, annuals and roses for longer flowering periods and more and larger blooms.
Continue fertilizing annuals and perennials as instructed on your favorite fertilizer. This will give you continued flowering all season long.
Check the water needs for hanging baskets and planters daily. The wind and sun dry them quickly.
Pull the weeds out of your flower beds before they get large. They are competing with your plants for water. Don’t let them produce seed or you will have even more next season.
Yarrow, strawflowers, celosia, and gomphrena can be cut for flowers and dried. Take pictures of your container combinations so you can repeat or modify the designs next year.
Roses & Perennials
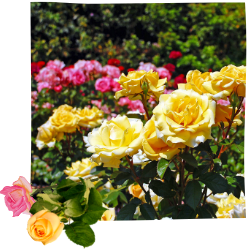
Roses are heavy feeders, so continue to fertilize throughout the summer to produce an abundance of big, beautiful flowers. Follow the instructions on the fertilizer of your choice and water at the base of the plant.
August is the last time that roses should be fertilized. They should then begin to “harden off” for winter. Remove old, spent rose blooms after they fade, cutting the stem just above the uppermost 5-leaflet node on the stem.
Prevent rose and perennial diseases like powdery mildew from taking hold by using a systemic fungicide before the problem appears. Once those diseases appear it is very difficult to control. Bee balm, phlox, columbines and lilacs are some of the plants prone to powdery mildew.
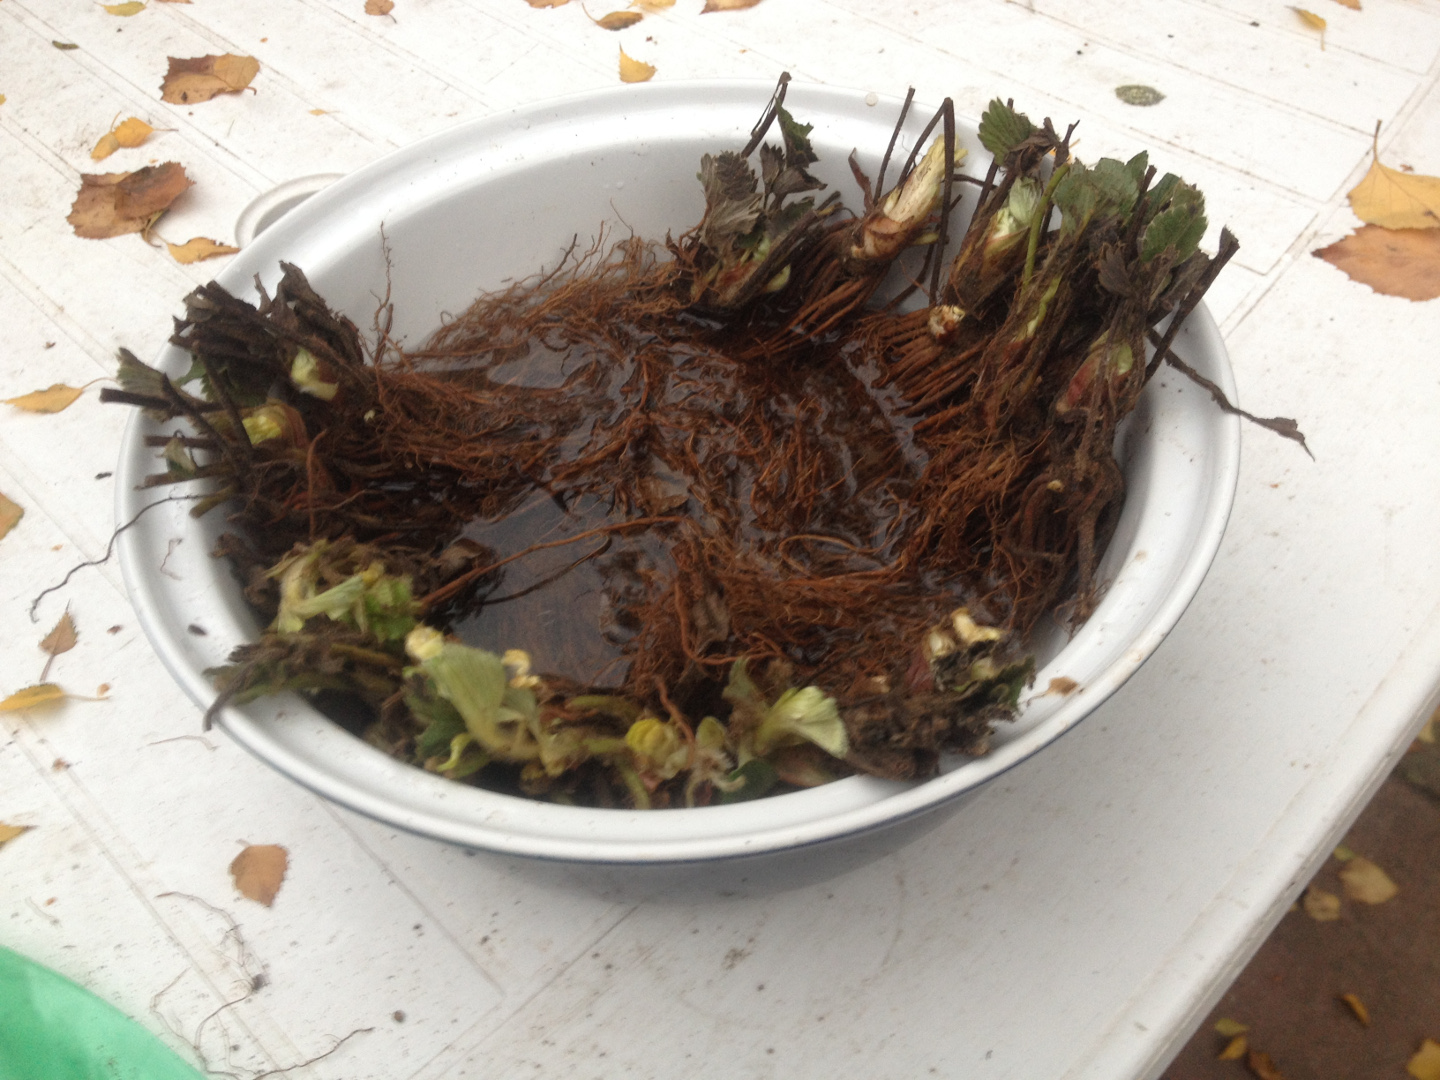
If your iris did not bloom well this year, they may need to be divided. This is the time to divide overcrowded irises. Dig up the whole clump, sort out the rhizomes which have leaves on them, and discard the old rhizomes. Replant the good rhizomes after improving the soil with compost and working a little super phosphate into the soil below the root zone.
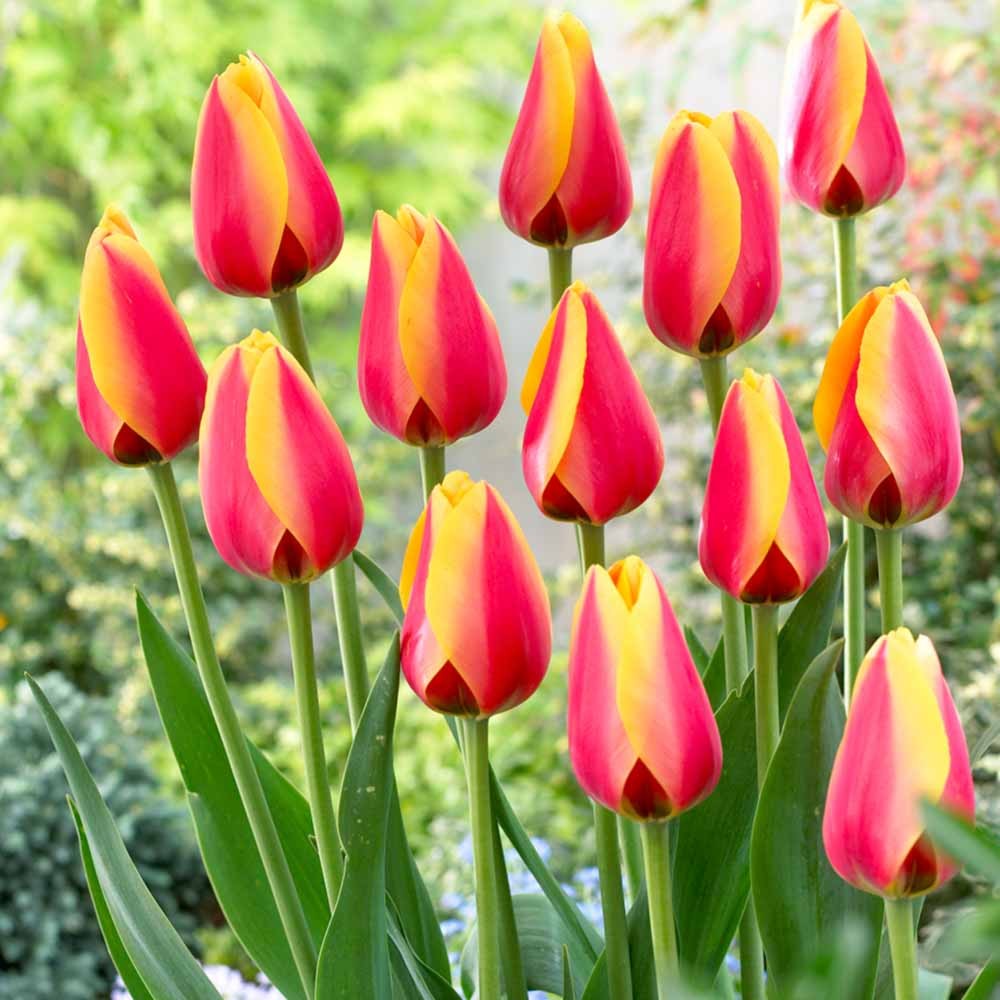
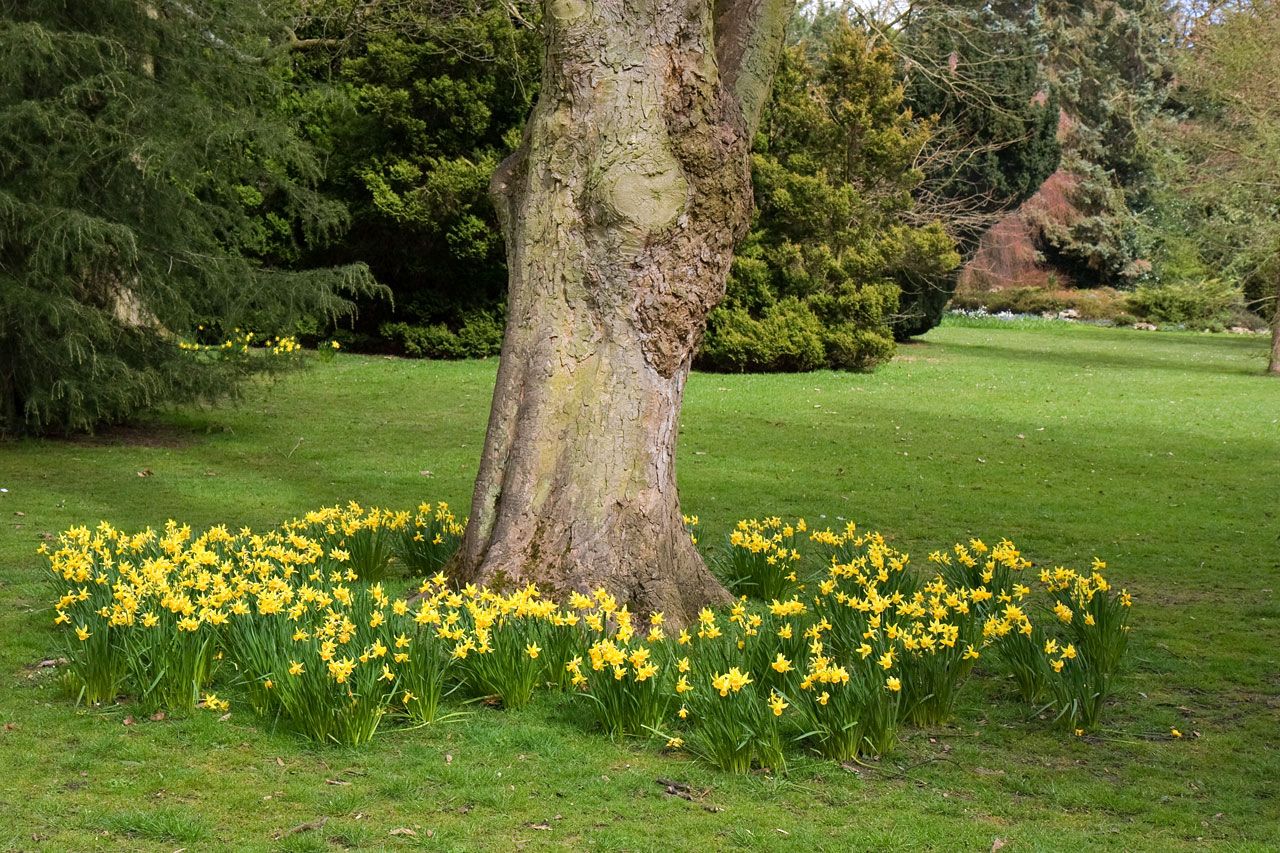
Plant fall-blooming perennials like asters, mums, agastache and Autumn Joy sedum for color August through October. Look for empty spaces in your garden where you could plant some bulbs this fall between perennials to add more color to next spring’s show. Our fall bulbs usually arrive around Labor Day weekend.
In the Vegetable Garden

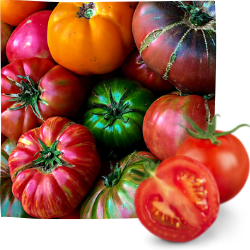
Avoid overhead watering when tomatoes, peppers, squash, cucumbers, corn and some other vegetables are in flower. They need pollination and the pollen can be washed away, resulting in fewer fruits.
Water your garden early in the morning while it is still cool. There is much less evaporation at this time than in the heat of the day.
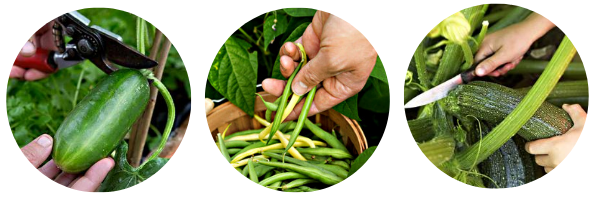
Vegetables will stay fresher if you harvest them from the garden early in the day. Clean them as quickly as possible and refrigerate (except tomatoes which should not be refrigerated for best flavor).
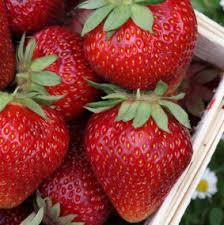
Fertilize your vegetable gardens to maximize your harvest, and fertilize strawberry beds with ammonium sulfate now for more berries next spring.
Remove vegetable plants that have finished producing. If they are free of insects and disease, compost the plants; otherwise dispose of them so they don’t infect your other plants.
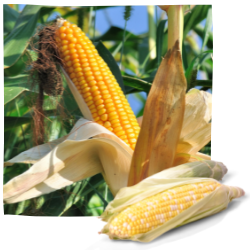
Pinch off the flower buds of onions to direct energy to the developing bulb. Harvest corn when the husk is tight over the ear and the silks are dried to a dark brown.
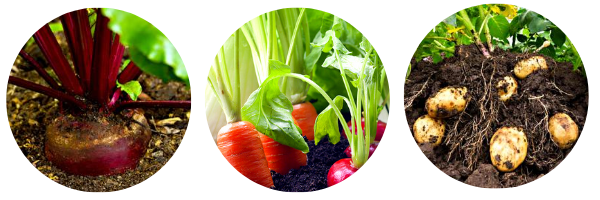
Plant broccoli, carrots, turnips, lettuce and radishes now to enjoy a nice fall garden. Choose early varieties so that they will mature before freezing temperatures.
Summer Lawn Care
Don’t expect cool season bluegrass to look as green in summer as it does in spring and fall. If a lawn goes somewhat dormant in summer, it will still green back as soon as the weather cools and more moisture is available.
Those impossible weeds like bindweed, dandelions and thistle in your lawn can be controlled with Ferti-lome’s Weed Free Zone.
Do you have dry spots in your lawn where water won’t penetrate? A lawn irrigator will put the water right at the roots and aerate those areas, so that water will percolate down. An application of Revive will also help water soak into the ground and penetrate deeper into the soil instead of running off of slopes.
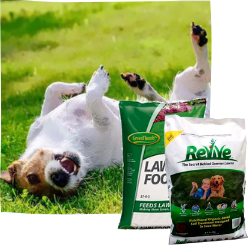
If your did not make the second application of fertilizer in June or July, our recommendation is Green Thumb Lawn Food for summertime feeding of your lawn. It’s best to avoid fast-release nitrogen fertilizer on your lawns in the heat of the summer.
Trees & Shrubs
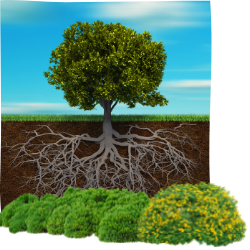
Deep watering of trees, shrubs, roses, vines, and perennials is essential this time of year. Water thoroughly, but only when the plants require water. Check soil 3-4″ deep to determine when these plants need to be watered.
Protect your trees and shrubs from grass trimmers. The best way to protect these is to eliminate the grass directly around the tree, encircle it with weed fabric, and then mulch with bark or rock.
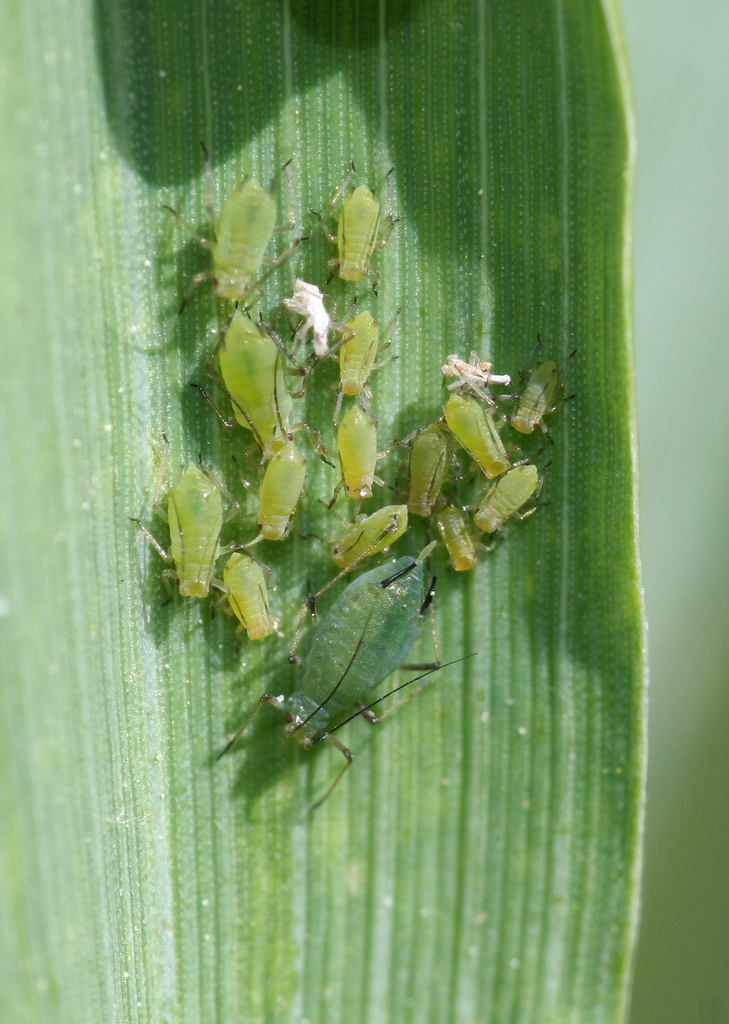
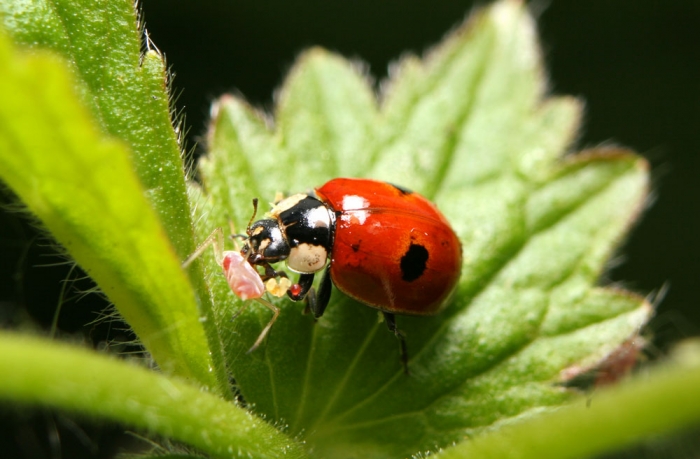
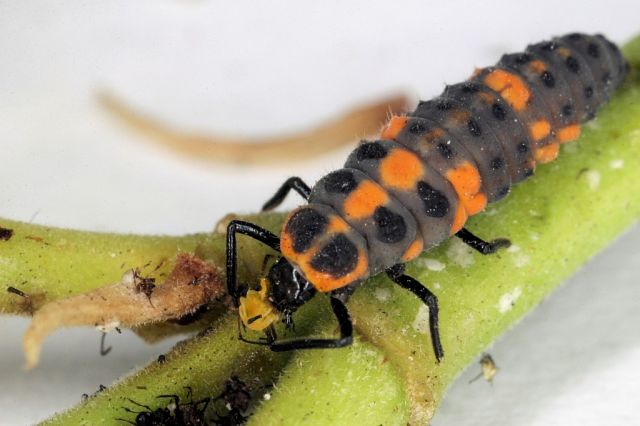
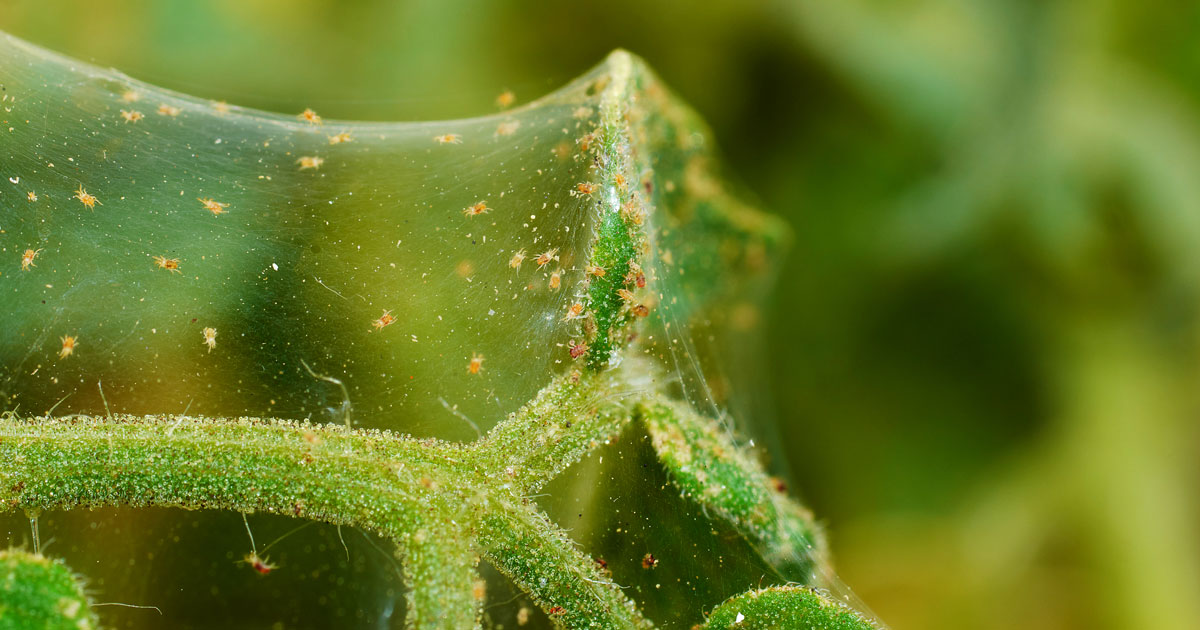
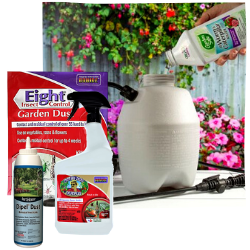
Examine all trees, shrubs, roses, perennials and annuals for insects and diseases. This is the time of year these problems begin. There are controls for any of these situations.
Water Gardening
Is your pond turning green? Add more shade on the surface of the water with water hyacinths, water lettuce and water lilies. Use Algae Fix to get rid of green water and then treat with MicrobeLift TAC. These beneficial bacteria will compete with algae for resources and work to keep your pond crystal clear.
Houseplants
If you set your houseplants outside on your patio, be sure to examine them periodically for insects and treat them accordingly. Continue fertilizing your houseplants according to the directions on the fertilizer container.
If your plants have been in the same pot for two or more years, this is a good time to repot them into an attractive container which is at least two inches larger than the present pot.
Check the chemicals stored in your garage. If you have had them more than two years, they may be losing effectiveness. Organic BT formulations may be ineffective after one year.
The most environmentally friendly way to get rid of chemicals is to use them up according to directions. You may still get control. If not, reapply with newer product. The logical choice is to buy only what you need this season. We can help you choose the safest effective products.
Contact your local County Extension Service for information on disposing of your older or banned chemicals. Chemicals should NOT be thrown out with the trash.
Miscellaneous Summer Tips
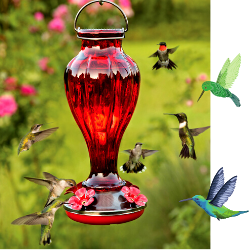
Keep your hummingbird feeder filled and ready for the “hummers” fall migration.
Take your camera when visiting public gardens or even your friends’ gardens. If you want to have a beautiful flower or shrub you’ve seen, bring in a picture or a sample and we can help identify it for you!
Keep your compost moist and aerate the pile by turning it.
If your yellow jacket trap is not working anymore, it may be time to replace the attractant.
Echter’s Plant Doctors are available during store hours seven days a week to answer your gardening questions. For accurate diagnosis, it helps to bring in a sample.