Frost Hardiness

Plants vary in their ability to tolerate cold temperatures and harsh conditions. Different areas in Colorado can have drastically different climates and varying weather conditions each year. All of these factors make it difficult to determine a “safe date” to plant.

We have complied a list of plants ranging from “Very Hardy” to “Tender”. We offer recommendations on planting dates in the Denver area for each group but caution that these dates are approximations. We strongly recommend hardening off your plants (especially annuals) before planting and keeping a close eye on the weather. If needed, covering plants during cold snaps or chilly nights can help protect them.

Very Hardy Plants

Very hardy plants can typically be planted 7 weeks before the average last frost date. In the Denver Metro Area, this is usually after April 1st.

Very Hardy Flowers

Alyssum
Anchusa
Centaurea
Dracaena
Dusty Miller
Larkspur
Pansy
Snapdragon
Sweet Pea
Viola

Very Hardy Vegetables

Asparagus
Fennel
Onions
Peas
Potato
Radish
Strawberries

Hardy Plants

Hardy plants can typically be planted 5 weeks before the average last frost date. In the Denver Metro Area, this is usually after April 20th.

Hardy Flowers

Arctotis
Artemesia
Baby Blue Eyes
Bellis
Calendula
Carnation
Cerastium
Columbine
Dianthus
Diascia
Erysimum
Flowering Kale
Heuchera
Iberis
Lavender
Lenten Rose
Lobelia
Lupine
Matricaria
Myosotis
Nemesia
Osteospermum
Phlox
Roses
Vinca Vine

Hardy Vegetables

Broccoli
Brussels Sprouts
Cabbage
Cauliflower
Kohlrabi
Lettuce
Pak Choi
Perennial Herbs
Radicchio
Rhubarb
Spinach

Half Hardy Plants

Half hardy plants can typically be planted 3 weeks before the average last frost date. In the Denver Metro Area, this is usually after May 1st.

Half Hardy Flowers

Anagallis
Angelonia
Bacopa
Bells of Ireland
Calibrachoa
California Poppy
Campanula
Coreopsis
Cosmos
Datura
Delphinium
Dichondra
Euphorbia
Felicia Daisy
Gazania
Gerbera
Gomphrena
Lotus Vine
Mexican Feather Grass
Ornamental Grasses
Pennisetum
Penstemon
Petunia
Phlox
Pincushion Flower
Regal Geranium
Ruby Grass
Rudbeckia
Sanvitalia
Stocks
Strawflower
Sutera
Sweet Pea
Trifolium
Verbena

Half Hardy Vegetables

Artichoke
Celery
Leek

Tender Plants

Tender plants can be planted when there is no longer danger of frost. In the Denver Metro Area, this is usually after May 20th.

Tender Flowers

Abutilon
Achimenes
Ageratum
Alternanthera
Alternaria
Amaranthus
Angelonia
Argyranthemum
Asparagus Fern
Aster
Banana
Balsam
Begonia
Bidens
Bouganvilla
Bower Vine
Brachycome
Browallia
Brunfelsia
Caladium
Calibrachoa
Calla Lily
Callopsis
Campanula
Canna
Cardinal Climber
Celosia
Chrysanthemum
Chrysocephalum
Cigar Plant
Clematis
Cleome
Coleus
Cordyline
Coreopsis
Crassula
Crossandra
Cuphea
Dahlberg Daisy
Dahlia
Dallas Fern
Daylily
Dipladenia
Elephant Ears
Evolvulus
Ferns
Fiber Optic Grass
Four O’Clock
Fuchsia
Geranium
Gloriosa Lily
Guara
Heliotrope
Hibiscus
Impatiens
Iresene
Iris
Jasmine
Lantana
Lisianthus
Livingstone Daisy
Lothospermum
Lysmachia
Mandevilla
Marguerite Daisy
Marigolds
Mecardonia
Melampodium
Millet
Mimulus
Moon Vine
Monopsis
Morning Glory
Napa Valley Fern
Nasturtium
Nemesia
Nicotiana
Nierembergia
Nolana
Oleander
Oxalis
Pampas Grass
Pentas
Periwinkle
Perilla
Plectranthus
Polka Dot Plant
Polygonum
Portulaca
Rudbeckia
Salpiglopssis
Salvia
Scarlet Runner Bean
Scaevola
Schizanthus
Sedum
Statice
Streptocarpella
Sunflower
Swan River Daisy
Sweet Potato Vine
Tithonia
Thumbergia
Torenia
Trachelium
Trailing Portulaca
Tropical Hibiscus
Tropical Water Plants
Veronica
Vinca
Zinnia

Tender Vegetables

Annual Herbs
Cantaloupe
Corn
Cucumber
Eggplant
Okra
Peanuts
Peppers
Pumpkin
Squash
Tomato
Watermelon

Hardening Off Annuals

HOW TO HARDEN OFF YOUR PLANTS

The gradual process of hardening off is a crucial one, like the slow but steady  way we brace our entry into a chilly lake in summer. Jumping in all at once is a shock to our system, but if we start by sticking a toe in and slowly working our way in, the total immersion is not nearly so stressful.

Plants need a period of time to get used to their new homes.  The adjustment period is called “hardening off.”  We recommend a hardening off period of about three to five days.  This will give the foliage tissue time to toughen up so the plants don’t go into shock.

COLD SPRING WEATHER

1.   Put new plants outside in a place that is protected from sun and wind.  Make sure they get watered as needed.

2.   If nights will be cooler than 38-40 degrees, bring into the garage or house.

3.   Move the plants out a littler farther each day toward the place in which they will be growing.

4.   Leave the plants out at night unless there will be low temperatures.  They still might need covering at night if there is a drastic change in the weather.

5.   Plant on a cloudy day and they will take right off.  Using a root stimulator when planting will help.

WARM SPRING WEATHER

The process above can be sped up, but it is basically the same.

HOT WEATHER

The process here is somewhat different since you are acclimating your plants to hot sun and drying winds.

1.   Put plants in a cool, protected place for a day or two.

2.   Gradually move plants towards their new location over a period of three or four days.

3.   Plant in the cool of the evening or on a cloudy day.

4.   Be prepared to shade with a shingle or board until plants are settled in.

5.   Water as needed.  Always check the soil first.

Seed Starting 101

“To plant a seed is to
believe in tomorrow”

~ Audrey Hepburn

If you’re impatiently counting the days until spring arrives so you can start working on this year’s garden, there might be a way to get started on it a little sooner. Mid-February to early March is an ideal time to start your garden indoors by planting from seed. It’s easy, it’s fun, and it’ll make waiting for spring’s arrival a little easier. Ready to get started? Let’s dig in!

WHAT CROPS CAN YOU START NOW?
Most annual flowers and vegetable plants should be sown indoors about six weeks before planting outside. Leaf crops like spinach, lettuce, Swiss chard as well as cabbage, cauliflower, broccoli, peppers, eggplant and tomatoes can all be started indoors in late February and early March.

Different seed types require differing numbers of days to sprout and grow to transplant size. To be certain, consult the seed packet and then count backwards to figure out the date to sow your seed. Our Frost Hardiness List will help you find the best dates to plant in your particular area.  (Some crops are fussy about having their roots disturbed by transplanting. You may want to sow seeds for root crops like radishes, carrots, and beets directly outdoors after the last frost date has passed for your area.)

START WITH CLEAN SEED STARTING CONTAINERS
Seed starting flats are a popular choice for starting seeds that will help maximize the number of plants you can grow per tray. Some come with domes that help keep the soil surface moist while germinating. If you will be using previously used containers, be sure to clean and sanitize them thoroughly before you begin. Biodegradable fiber pots and trays can be another good choice, and peat pellets are a fun alternative to use — especially with children.

CHOOSE THE RIGHT SOIL
The right soil is critical to success. You’ll want to choose a soil that’s specifically formulated for starting seeds. Seeds need just the right amount of moisture, warmth, and air to germinate, and these specialty soils are light enough to support fledgling root systems to give your plants a healthy start. Don’t use outdoor garden soil, as it’s far too dense and heavy for delicate root systems.

PLANTING TIPS
Fill your containers with the seed starting media. Then, using a spray bottle, mist to moisten the soil evenly. Sprinkle the seeds about 1/4″ apart on the soil surface and barely cover them with soil. Water with a very gentle spray. It’s important not to let the soil dry out before the seeds sprout. A plastic dome cover helps keep the soil surface moist without disturbing the seeds. (TIP: Young seedlings look pretty much the same until they begin to develop “true” leaves. Do yourself a favor and label the seed flats from the beginning. It’s also a good idea to include the date you planted the seeds.)

KEEP THINGS COZY
Seeds also need warmth to germinate. Most seeds will germinate at room temperature, but some warm-season crops like peppers prefer it warmer. A propagation heating mat underneath the seed tray will help with quicker germination, more seedlings, and greater uniformity. After the seeds have sprouted, take them off the heat mat, remove the dome cover, and put them under fluorescent grow lights to keep them from becoming spindly. You can also place your brand new seedlings in a sunny window if you have room.

POTTING UP
When your seedlings are a couple inches tall, you’ll want to thin them by removing some of them. Then gently dig the remaining seedlings out with a fork, so as not to harm the roots. Carefully transplant them into slightly larger containers, so they’ll have more room to grow. Don’t step them up to a too large container too soon though! Choose a container that’s about twice the size of the seed cells (a 3″– 4″ pot size usually works great). Always be sure any plastic containers you choose have drainage holes in the bottom. If the leaves fade to pale green or yellow, feed the seedlings with a water-soluble fertilizer when watering.

GET READY TO PLANT OUTDOORS
Your pampered indoor seedlings will need to be properly acclimated to their new outdoor life! Before transplanting outdoors, begin the process of “hardening off” your plants. On a warm spring day, move the seedling containers to a protected place (such as a porch) for just a few hours, then bring them back indoors. Each day gradually increase your fledgling plants’ exposure to the outdoor environment. After several days, transplant them to their final growing space in the garden.

Starting plants from seed can be a great way to get a jump on Colorado’s all-too-short growing season, and it can give you more choices in growing heirloom or hard-to-find varieties of veggies and flowers. More than that, it can evoke a sense of wonder to start from a dry seed and watch it grow into a big beautiful plant for your garden. Try it!

Cool Season Vegetable Gardens

“It was such a pleasure to sink one’s hands into the warm earth, to feel at one’s fingertips the possibilities of the new season.”

~ Kate Morton

You might think of the growing season as the time between spring’s last frost and autumn’s first frost, but all vegetable gardening doesn’t wait for warm weather to be in the forecast. Cool season vegetables are hardier varieties that tolerate — and even thrive — in the cold soil of early spring.

When Can You Plant?
What’s really important is soil temperature — it must be in the 40°F range for cool season vegetable seeds to germinate. Simply go by the general rule that soil is warm enough when you can easily turn it with a shovel.

What Can You Plant?
Cool-season crops include the salad vegetables: lettuces, kales, chard, onions, peas, and radishes. Everything in the cabbage family (cabbage, broccoli, cauliflower) also grows well in the cool spring air. In fact, their flavor often depend on harvesting before the heat of summer sets in.

Planning
To get the most vegetables throughout the year, plan for two “shoulder” seasons of cool-season crops. Plant spring vegetables in April, then follow with warm-season veggies like tomatoes, peppers, and corn in the summer. Then you can plan on planting a second crop of cool-season vegetables in the autumn after the weather cools down.

Location
For your cool-season beds, choose a well-drained spot that gets as much sun as possible. Add some organic matter such as compost or sphagnum peat moss and spade or till it into the soil. You can water less frequently in the cooler seasons since plants will dry slower in cooler temperatures.

Making the Transition from Greenhouse to Garden
Many bare-root vegetables and cool-season crops can make the transition into the outdoor garden — but only after going through a process known as hardening off. This process reduces stress and is essential to the success of your tender plants.

Plants that start life in a greenhouse or under lights in your home spend their time in pampered comfort. The temperature is perfect, the wind doesn’t’ blow, water is always gently and carefully applied, the sun never scorches, and rain never pounds. To prepare them for the harsher realities of life outdoors, they’ll need to gradually acclimate.

For one to two weeks, move the plants outside during the day while temperatures are warm. Then bring them back inside at night when the temperatures chill down. Place them in an area that’s protected from sun and wind. The third week, as long as night temperatures aren’t going to drop below freezing, you can leave the plants in a protected area overnight. After this adjustment period, you should be able to safely leave your plants outside for the season.

Always be Prepared for Frosts
Most cool-weather vegetables can tolerate a light frost, but you’ll want to keep the frost cloths handy for sudden cold snaps and those inconvenient late-spring and early autumn frosts.

You can also protect planted veggies with a Season Starter. These transparent “walls of water” are simple solar shelters that allow the soil to warm to a temperature suitable for plant growth.

Keep the Harvest Going
You can keep the supply of spring veggies going with succession planting. Plant your fast-growing crops in two-week intervals to prolong the availability of lettuce, spinach, peas, and radishes. When the weather gets too warm for these vegetables, you can plant more of them in the shade of taller plants like pole beans and corn. This system is also good for gardeners with limited space.

Growing your own food has always been one of the healthiest (and tastiest!) ways to feed your family. If you can’t wait to get your hands dirty in the garden, give cool-season crops a try!

Early Spring Garden Tips

“I love spring anywhere,
but if I could choose,
I would always greet it
in a garden.”

~ Ruth Stout ~

We all look forward to the spring season with delight each year. The promise of warmer weather, more daylight, and all of those beautiful spring flowers is a welcome reward after a long winter of grey days, icy air, and shoveling snow. Soon trees and shrubs will be budding, bulbs and perennials will begin emerging from the ground, and our gardens will slowly come back to life once again. Though it’s still too early to plant, there’s plenty to do in the garden. Grab your garden tools, and let’s get started!

CARE OF GARDEN TOOLS — Speaking of garden tools, early spring is a good time to make sure they’re ready for the upcoming season. Check your gardening supplies so that you’ll have what you need in the spring. Gives your garden gloves a good wash and dry, or replace worn ones. Take time to clean all tools thoroughly, removing any residual soil, then inspect for damage or rust. If you do find rust, give those areas a good scrub with steel wool. It will be a long season of work for your garden tools, so it’s a good idea to have them sharpened at the beginning of the season. Echter’s can do that for you! Simply bring in your tools (and lawn mower blades), and for a nominal fee, we’ll sharpen them. If you need to replace or add to your garden tool arsenal, stop by. We’re well stocked with all kinds of garden implements — especially at the beginning of the year.

EARLY SPRING CLEANUP — Winter can be hard on your garden! Take a walk around your garden to assess any winter damage. Remove debris leftover from winter storms, and tidy up the garden beds and boxes. Clean up any dead annual or vegetable plants that remained over the winter. Trim back the tattered foliage or old bloom stalks of perennials to encourage new growth to come in. Cut back ornamental grasses as low as possible, so the old foliage won’t detract from the new growth. Don’t be in too big a hurry to remove mulches though. There are plenty of beneficial pollinators overwinter in gardens by hibernating in dried leaf piles and last-season’s perennial plants, and March can still be one of our snowiest months!

PREPARE YOUR SOIL — Now is a good time to add organic amendments like compost and peat moss. Rototill or spade into your garden soil to a depth of 6 inches.

PLAN YOUR VEGETABLE GARDEN — A great vegetable garden starts with a great plan! Make a list of what you’d like to grow, how much area you have, and how many of each plant you’d like to grow. Check seed packets for plants’ mature sizes, sunlight and watering needs, and the yield of the veggies when planning. Then have fun mapping out and designing your planting areas!

IT’S TIME TO PRUNE — If you didn’t get to it in February, you can still do pruning of deciduous trees and shrubs in March. Some exceptions would be birch, maple, walnut, and elm. These should be pruned in mid-summer. In early spring, you can still easily see the branching structure of trees and shrubs before the leaves start coming in. Begin by removing the three Ds: anything dead, damaged, or diseased. Then move on to any crossed branches (branches that rub against another), water sprouts (branches that grow straight up from the branch), and suckers (branches that spring up from the base of the tree or shrub). Generally speaking, remove young branches that are growing inwards towards the center of the tree as opposed to outwards. Use a pole pruner to reach branches up to about 15 ft. off the ground. Pruning paints and wound dressings are not recommended on the pruning cuts. If you missed it, here’s a deeper dive into late-winter pruning.

GET STARTED ON SOME EARLY LAWN CARE — As in other areas of the garden, begin by checking for any problems that may have developed. Once the snow has melted off your lawn, check the turf in shaded areas for snow mold, a fungus that is white to pink in color and grows on the surface of the grass blades. If you see evidence of snow mold, lightly rake the affected areas and dispose of the debris. Any remaining mold should dissipate on its own after that.

LAWNS SHOULD BE CORE AERATED once or twice each year. That’s done by poking holes in the ground and pulling out plugs. This reduces soil compaction and helps control thatch in lawns while also helping water and fertilizer move into the root zone. Schedule your lawn for an aeration in March, and prepare by marking your sprinkler heads to avoid having them damaged. Water the lawn the day before aerating, so it will be softer and easier to pull plugs. Then water again after aeration to help the lawn recover. Leaving the plugs on the surface will help break down the thatch that has accumulated.

GET A HEAD START ON WEEDS — You can begin to get ahead of weeds by choosing a lawn fertilizer with a pre-emergent as your first feeding of the year. This will prevent annual weed seeds from germinating, and give your lawn a chance to thicken up and discourage weeds on its own. It’s best to apply these after aerating the lawn. This is important because aerating after a pre-emergent will greatly reduce its effectiveness!

OVERSEEDING — As the weather begins to reliably warm up in March, you can begin overseeding thin areas of lawn. Rake areas to be seeded to expose and loosen the soil, then apply a thin layer of Nature’s Yield Compost . Use a high-quality seed blended for your conditions. Echter’s has many different blends to choose from. A hand spreader will help to apply the seed evenly. After seeding, be sure to keep the surface area moist until the seed is well germinated.

PLANT COLD-HARDY CROPS — While it’s too early to plant tender, warm-season plants, it is time to plant some early cold-hardy crops. Things like onion sets, bare-root strawberries, asparagus roots and seed potatoes can be sowed directly into the vegetable garden in March. Be sure to keep a frost blanket handy for any late-season frosts, just to be on the safe side.

START SEEDS INDOORS — Now is the time to start broccoli, Brussels sprouts, cauliflower, kohlrabi, alyssum, lobelia, pansy, and geranium seeds inside for planting out later in the spring. Start tomatoes and peppers inside now, then they’ll be ready to transfer to the garden beds in late May.

PREPARE BIRDHOUSES FOR THE BUSY SPRING SEASON — Returning birds will be looking for real estate soon! In preparation for the new arrivals, clean out and sterilize last year’s birdhouses, or put up new ones. Make sure any older birdhouses are still firmly mounted as well. It’s a good time to perform bird feeder maintenance too. Clean out all feeders and fill with fresh seed. You may also want to consider creating a pile of nesting materials to make your yard extra inviting for this year’s visitors.

Why Start Seeds Indoors?

“All the flowers of all the tomorrows are in the seeds
of today.”

~ Indian Proverb

Why should you consider starting this year’s garden indoors? Why not just wait until the last frost date passes, and plant seeds directly in the garden beds? There are lots of reasons — especially in Colorado — why getting a head start on the season is such a good idea. 

Get a Jump on the Growing Season
Besides just being a lot of fun, one of the best reasons to start seeds indoors is that here in Colorado, the growing season tends to be rather short — even more so in the mountain communities! Being able to set young plants out (as opposed to sowing seed directly) allows your crops to be a few weeks ahead at the beginning of the season, and that means earlier harvests of those tasty spring and summer veggies!

Grow a Warm-Season Crop in a Short-Season Climate
Everyone’s favorite summer vegetables usually have a long growing season. Beans, corn, and tomatoes can require anywhere from 60-100 days from seed to maturity, and those bright October pumpkins require 120 days! If you have to wait for the outdoor soil to reach the optimal temperature for growing, you’ll miss out on valuable growing days. Considering Colorado’s growing season is only an average of 150 days, getting started earlier sure can be an advantage. Start these popular summer crops weeks earlier by seeding indoors, and start enjoying those juicy tomatoes a little sooner!

When it comes to starting perennial flowers from seed, you may be able to get first-year blooms on flowers that usually don’t flower until their second year in the garden. Varieties that benefit from a head start indoors are: Asters, Black-eyed Susans, Coleus, and Lavender.

Grow a Variety That Isn’t Offered as a Starter Plant
You might also consider starting from seed if you’d like to try varieties of veggies that your local garden center doesn’t offer as “starts” or young plants in the spring. By growing your own vegetables from seed, you have more varieties available to you. For example, while we grow more than 200 different types of vegetable plants each year here at Echter’s, we can’t offer every variety of every crop. Sometimes there may be something you’d like to grow in your garden that we don’t offer. Seed gardening is a great way to grow those extra-special varieties that may not be commonly available.

Fun for kids
If you’ve got little gardeners around the house, the process of planting a dry, dead looking seed into soil, then watching it sprout and grow into a live plant is nothing less than magic! It can also provide a valuable lesson in where our food comes from. One small seed can grow a lot more than a plant. It just might grow a lifelong love of gardening.

A Word of Caution
With some crops, it can be beneficial to just wait until after the last spring frost and sow directly into the garden. This tends to be true of root vegetables like radishes and carrots. Root crops are fussy about being transplanted because no matter how careful you are during the transplanting process, there’s bound to be some minor root damage, and that will show up in the final vegetable. Direct sowing produces better results in those plants.

There’s so much satisfaction that comes from starting your garden from seed. You control what’s going into your food crops, you can save money, and you have access to a greater variety of plants. One of the nicest things about seed gardening is having something green and growing during the grey days of winter. Pay us a visit, and be inspired by all the crops and varieties that are available this year!

Extending the Harvest

With the summer harvest season in full swing, the last thing you may be thinking about is planting more vegetables. But why give up popping out the back door to harvest fresh veggies just because summer is drawing to a close? Smart gardeners know that late summer is the ideal time to plant another round of crisp, fresh, cool-season veggies to extend the harvest just a little longer.

Late summer is prime time for sowing seeds! The soil is still warm from summer temperatures, so seeds germinate more easily. By the time seedlings are up and growing, the air temperatures will have begun to cool as autumn weather settles in. Warm soil & cool air —you couldn’t ask for better growing conditions!

Autumn gardening offers a few advantages over spring & summer as well. Spring planting problems (like bolting because of heat and pesky garden pests) aren’t an issue in the autumn. Even though frost is a necessary consideration, some vegetables are even sweeter after a light frost. So if you’re thinking of squeezing in a little more gardening before the season truly ends, grab your favorite cool-season veggie seeds and a calendar, and get sowing!

Successfully extending the vegetable season depends on a little careful planning. Begin by learning the average date of the first autumn frost in your area. Once you know this, consult the seed packet to find the days to maturity for each particular crop. For the peas in the seed packet to the left, it will be 62-75 days from sowing seed to mature peas. Armed with this information, count backwards on the calendar to find the date you should sow the seed. Simple!

TIP: You may want to pad your planting estimates with an extra couple of weeks. As the days grow shorter, there will be less sunlight for growing, and daytime temperatures will also be cooler. What may have grown quickly in the warming soil and lengthening days of spring, may take just a little longer in the autumn.

As you remove fading summer vegetable crops from your garden, it’s easy to plug in a frost-tolerant, cool-season crop in its place. Begin by adding a soil amendment to replenish essential micro-organisms, provide nutrients, and improve the overall condition of the soil. It takes healthy soil to grow healthy plants!

Lastly, be prepared for those early autumn frosts! Though there are a number of frost-tolerant crops that will laugh at a light frost, sometimes Mother Nature does something unexpected! It’s wise to be ready to give your plants an extra bit of help if necessary. Make sure to keep frost cloths & blankets, fleece tunnels & jackets, etc. at hand and ready to go on short notice. Keep a close eye on weather forecasts and forecasted overnight low temps. Protect your plants, and they’ll be able to keep right on growing in the Indian Summer that inevitably follows a first frost event.

Now … what to plant and when? With an average frost date of mid-October for our Zone 5 Colorado gardens, try planting these popular cool-weather loving crops in late August to early September. They are reliable favorites.

Go ahead and enjoy another round of leafy greens like spinach, chard, watercress, kale, and lettuces. Peas are another favorite for the autumn garden.

Root vegetables like carrots, beets, turnips, and radishes are popular choices that also do well in cool-season Colorado gardens.

Broccoli, cauliflower, cabbage, and kohlrabi will enjoy sunny days and cool nights in the autumn garden. They can all tolerate a light frost.

Autumn gardening can be rewarding and fun as long as you’re knowledgeable and prepared. Why not get just one more vegetable harvest in before winter arrives? Those late-season veggies will taste mighty good in soups & stews come January!

Harvesting Summer’s Sweet Rewards!

Knowing when and how to harvest is an especially important part of growing your own food. Why? Because it affects the quality, flavor, and nutritional value of your homegrown produce! But how do you know when something is fully ripe, and what’s the best way to harvest? Scroll through, and check out our tips on how to harvest popular crops in Colorado.

Let’s start with the jewels of the garden — tomatoes! For the best taste and the highest nutritional value, you’ll want to leave your tomatoes on the vine until they’re fully colored, then gently twist and pull from the vine. The trick is in what “fully colored” looks like. Gone are the days when you could wait for a tomato to be a rich, vibrant red before confidently plucking it from the vine.

Nowadays tomato varieties comprise a rainbow of colors — yellows, oranges, greens, stripes, and even sprinkles! It’s particularly important to know what your ripe tomato should look like. If in doubt, a ripe tomato will give slightly to the touch. It it’s not ripe, it will still feel quite hard. Another tell-tale sign is how resistant the tomato is to being picked. If it hangs onto the vine for dear life when you try to pluck it, it’s not ready yet! If you’re growing heirloom varieties, you should pick them just shy of full color because they generally ripen before their color deepens.

When to Harvest Root Vegetables?

Beets … Most beet varieties are ready to pull about two months from planting. For baby beets, you’ll want to harvest earlier, when the roots are 1½” across. Letting beets stay in the ground too long will yield tough, woody roots!

Carrots … Carrots may be harvest young (at about ½” diameter) for baby roots, or allowed to grow to full size for storage. Not sure if they’re ready to harvest? Pull a few carrots for a quick taste test. If they’re crisp and sweet, they ready to eat. (TIP: loosen the surrounding soil before attempting to pull up a carrot. Carrots are notorious for breaking off when they’re pulled.)

Potatoes … After the potato plants have flowered, you may dig some of the potatoes to enjoy as “new” or “baby” potatoes. If you want to harvest full-sized potatoes, allow the tops to die back in the autumn, then dig up the tubers.

Check These Heavy Producers Daily!

Cucumbers … Harvest when they’re firm and smooth. Check on them often! If they’re left on the vine & become too large, they can become bitter and pithy. Use your garden shears or pruners to neatly clip these from the vine. This will prevent possible damage to the vine caused by twisting or pulling. Cut the stem approximately ¼” above the cucumber.

Green Beans … Pick them when the pod has filled out, but before you can see the seeds bulging. Simply grasp the bean pod firmly up near the top where it connects to the vine, then use your thumb to gently pinch it loose.

Zucchini … There are two things to remember about harvesting zucchini — pick young and pick often! These can quickly become too large. Zucchini is at its most tender and flavorful when it’s about 5″-7″ long and you can easily poke your fingernail through the skin. Use a sharp knife (or your pruners) to cut from the vine. (TIP: you can also harvest those delicious yellow flowers! Enjoy them raw in salads.)

Harvest this summer favorite after the silks become brown and dry. The ear should be completely filled out, and the end should be rounded instead of pointed.

Peppers, Peppers, Peppers

Bell Peppers … These grow in a range of colors including green, red, dark purple, yellow, and orange. In general, they’re ready to harvest when they are the full color of the variety planted. You can harvest bell peppers when they’re green. If you allow them to stay on the vine to ripen further, green peppers may turn red, then orange, then yellow! Purple varieties will turn from green to a dark purple to nearly black. Bells can be eaten at any stage during this ripening process, however the longer you leave them on the plant, the sweeter they become and the higher the Vitamin C content will be. To harvest, use a sharp knife or scissors to cleanly cut peppers from the plant to ensure the least damage to both pepper and plant.

Chile Peppers … Both mild and hot peppers can be harvested when they reach full size and are fully colored. They can also be harvested as soon as they reach a usable size. Chiles can be eaten at just about any stage of development. Mild peppers commonly get sweeter as they mature, while hot peppers get hotter the longer they’re left on the plant. To harvest: cut peppers from the plant with pruners. Leave a short stub of stem attached to the fruit. Do NOT pull peppers from the plant by hand — this can result in broken branches.

With eggplant, slightly immature & smaller fruits are tastier and will contain less seeds. Eggplants should be firm and shiny when fully ripe. Cut with a knife or pruners rather than trying
to pull from the plant.

Winter squash … such as acorn, spaghetti, buttercup, butternut, and Hubbard are ready to harvest when you cannot puncture the skin with your thumbnail and the stems are dry and begin to shrivel. Use pruners to cut cleanly from the vine.

Harvest pumpkins when they’re fully colored and the skin is hard enough to resist a fingernail puncture. They should sound hollow when thumped. Use a sharp knife or pruners to cut the pumpkin from the vine. Leave about 2″ of stem, and handle carefully. Any nicks or bruises will accelerate decay.

After the Harvest
Look for signs of trouble, such as yellowing leaves, rotting fruit, or unwanted pests. Be sure to put any plants that have disease or insect infestations into the trash — not the compost pile!

Healthy plant foliage can go into the compost pile after removing any seed heads. Remove any weeds from the vegetable garden, then improve the soil with compost, or plant a cover crop in the bed to overwinter.

Remember to Share the Harvest
If you find yourself with an overabundance of anything (we’re lookin’ at you, zucchini!) always remember to share the harvest with friends, family, and neighbors. If their cupboards are full, donations of fresh, homegrown vegetables are welcomed at your local food bank! After all, the summer harvest should be a season of plenty for everyone.

Itching to Plant

Peas in the garden

The calendar says spring, but the weather isn’t quite ideal for most garden veggies and annuals. While planting seeds indoors for later transplant is fun, it’s not exactly scratching our itch to plant in the garden. So what can we plant? Asparagus, Chives, Fennel, Garlic, Onions, Peas, Potatoes, Radishes, Strawberries are the earliest veggies to plant. We’ll focus on 3 of the most popular early vegetables – peas, asparagus and strawberries.

Peas in inoculent

Peas are among the easiest vegetables to grow. It’s a great choice for beginning gardeners of all ages. They can usually be planted around the first week of April. Here are a few tips. Dampen the seeds and cover them with inoculant for legumes before planting, then plant. Peas and other legumes benefit from inoculation, which adds bacteria to the host plant seed prior to planting. The bacterium attaches to the root system and creates a symbiotic relationship with legumes, making it easy for your peas to obtain and use nitrogen.

Asparagus crown

Asparagus takes a little effort and time, but the reward is oh, so tasty. ‘Martha Washington’ is one of the most popular varieties. However it produces both male and female plants. Female plants produce attractive red berries in the fall, but fewer edible spears. ‘Jersey Giant’ is a contemporary hybrid of all-male plants, which is more productive and has greater disease resistance. ‘Purple Passion’ produces purple spears which dress up the dinner plate and often entice children to eat their veggies.

It’s best to wait a year after planting asparagus, before making a harvest. This allows the plants to develop a healthy root system. In the second season, harvest spears larger than a pencil. The third season, and thereafter, harvest as you choose. Allowing the plants three seasons to fully establish themselves insures a long lived patch for years to come.

Strawberries are another popular perennial edible. It’s best to provide a separate planting area for them, outside your normal vegetable beds, because plants spread rapidly. There are 3 types of strawberries: June bearing, Everbearing and Day Neutral. We skip the June bearing plants because we want strawberries more than just one month each year. Everbearing strawberries provide two crops of strawberries, making them ideal for canning and freezing. Fort Laramie, Quinalt and Ozark Beauty are some of our favorites. Day Neutral strawberries produce fruit from spring to fall, making them a great choice for enjoying fresh from the garden throughout the summer. Our favorite is Eversweet, with its large, deliciously sweet flavor. It’s also the best choice for container growing since it doesn’t require pinching of runners or flowers to establish.


While we offer strawberry transplants in packs, you may find it easier to start from dormant bare root stock. When planted in early spring, once night temperatures are consistently above 25°F, they establish quickly. Be sure to stay on top of weeding around your strawberries. An ounce of prevention goes a long way when it comes to the strawberry patch. Mulch will help keeps weeds in check, making it a little easier on your knees. When it comes to June bearing and Everbearing varieties, it’s a good idea to remove the flowers and runners for the first season in favor of growing a healthy root system. We know it’s a lot to ask, but a little self-control now will provide you with a bigger harvest the second season. Container grown strawberries won’t over-winter here, so there’s no need to pinch off flowers or runners.


To get started, amend the planting area with compost. Soak your strawberry roots for about half an hour, to rehydrate them, before planting. Plant them so that the soil level is level with the crown of the plant. Be ready to cover with netting to keep birds and small animals from snatching your strawberries as they grow. Drip irrigation is the best way to water strawberries. If you water overhead, do it in the morning. This will allow the fruit and foliage to dry before nightfall, reducing the risk of disease affecting your plants.

When Can I Plant?

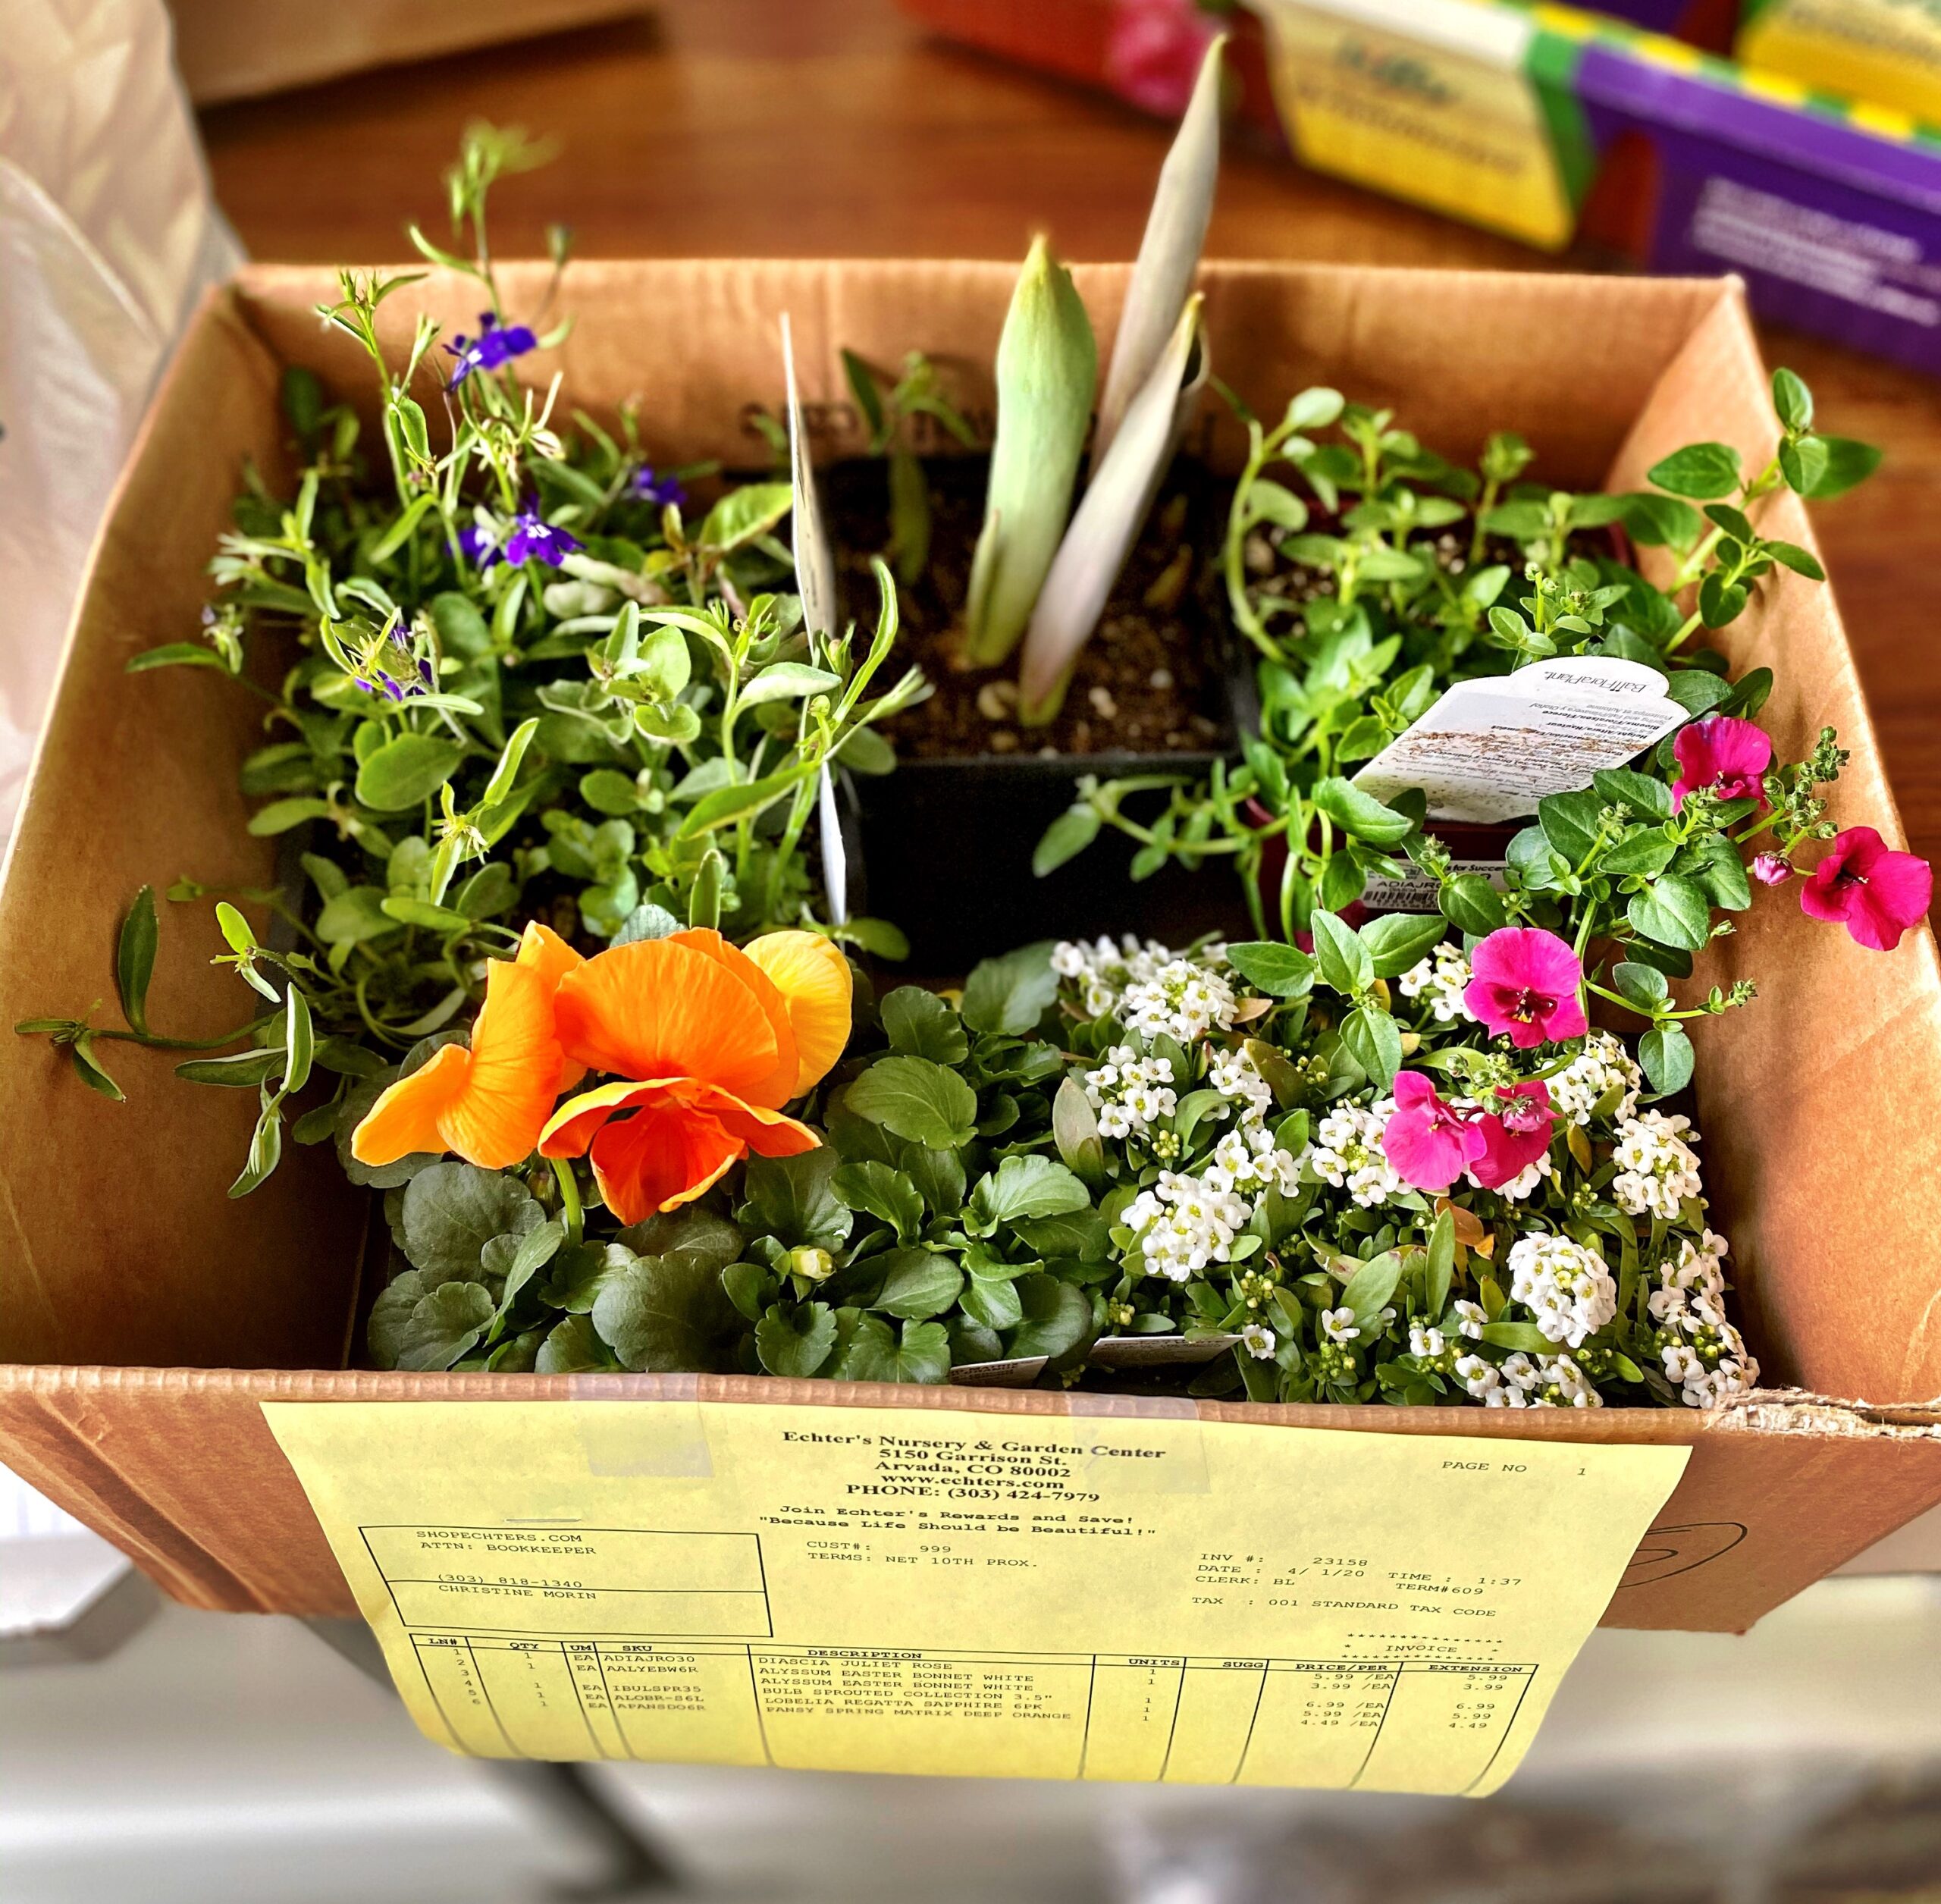
Here comes the sun! With it and the warm day temperatures of spring comes one of the most frequent questions we hear. “Can I plant this now?” The answer depends on the plant and particularly, on the nighttime temperatures. Our early spring days are often beautiful and daytime temperatures may reach well into the 70’s. It’s the night temperatures that really tell us when it’s safe to plant. Our last frost date is generally considered to occur around May 20th. While some years the date arrives earlier, there are occasional years when it occurs as late as June 1. We’re eager gardeners and antsy to get plants in the ground, but if we aren’t mindful of the night temperatures, we can do more harm than good.

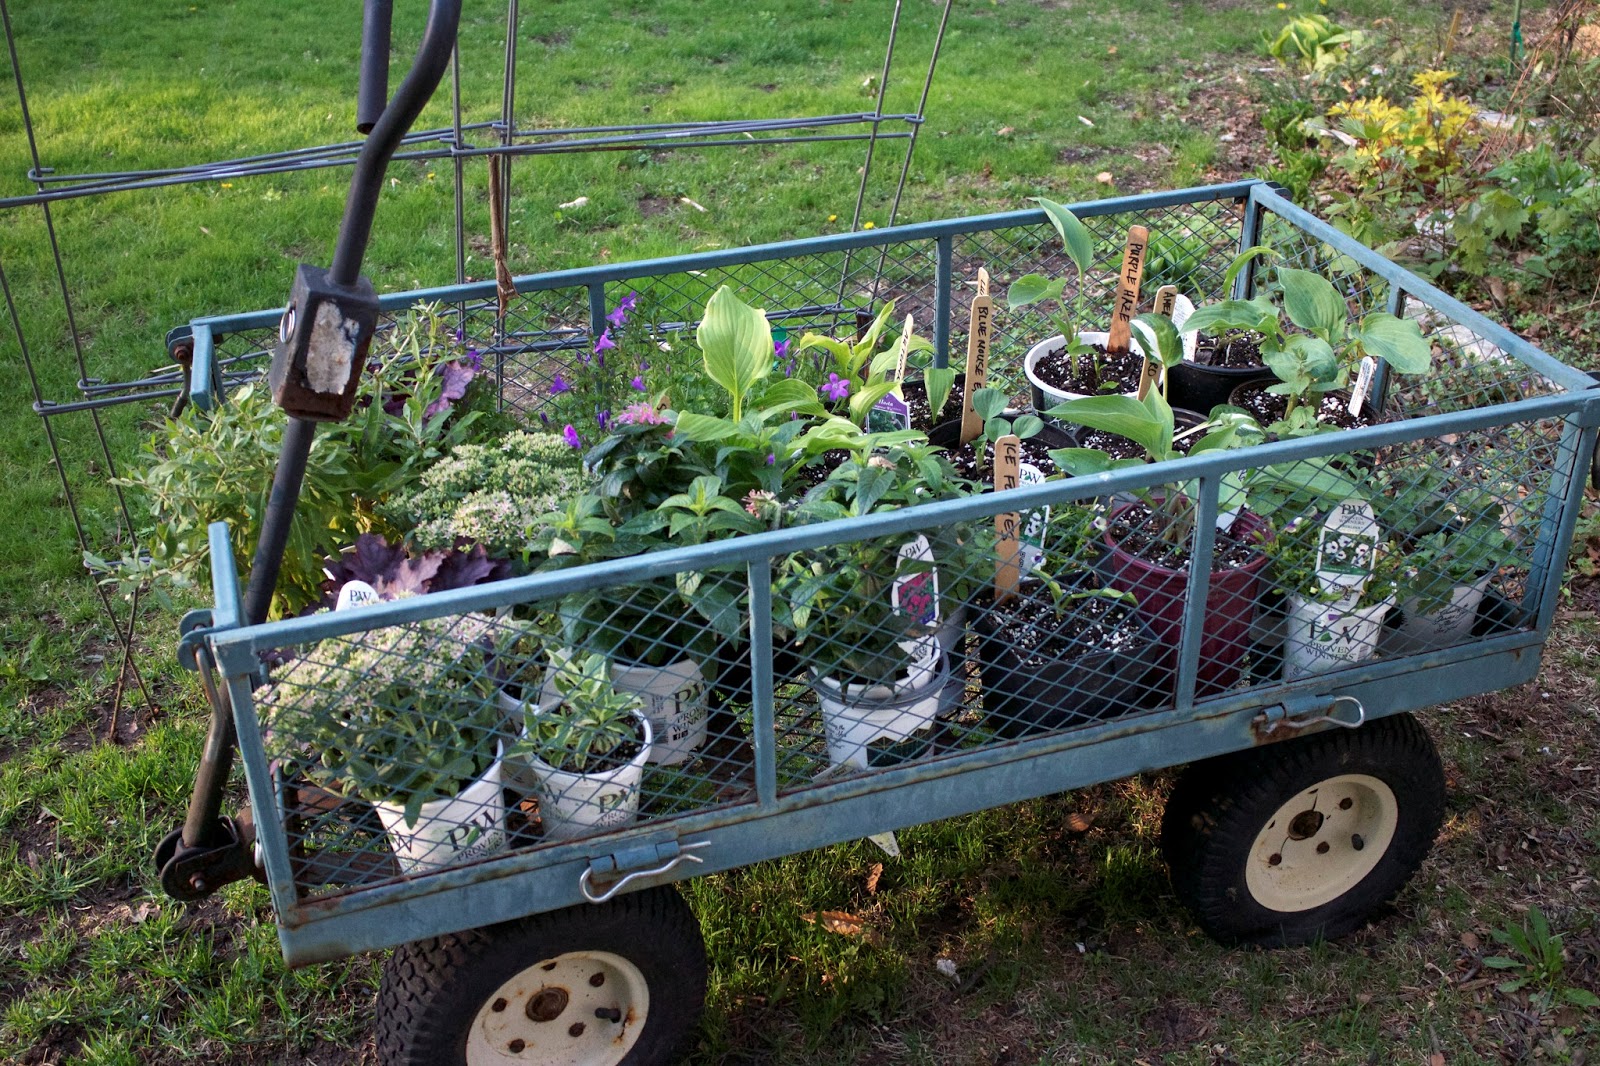
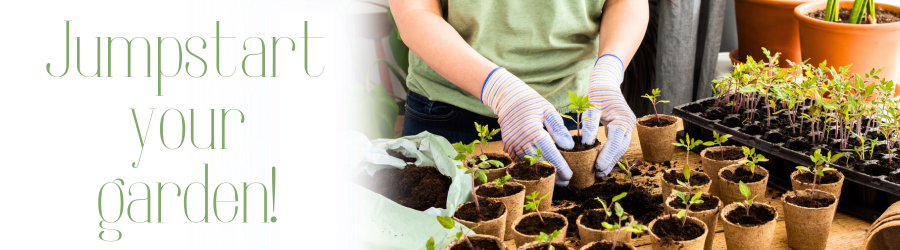
Before I get carried away talking about plants, I should mention the value of hardening off your plants before you plant. What is hardening off? It’s a process that acclimates plants prior to transplanting in order to reduce the risk of transplant shock. The process takes a few days, but it’s worth the investment of time, particularly in early spring or late summer heat.

Day one, place the plants in a shaded area outside and move them indoors or into a garage that night. Day two, place the plants in partial sun for the day and move into the garage or indoors at night. Day three, place the plant in a sunny spot for the day and move to a protected outdoor location, like against the house or under a porch, for the night. Day four, move into the sun for the day and leave them in the exposed location for the night. Day five, plant.

In late summer, when the temperatures are well over 80°F, I often use the same process, but shortened to 3 days. This helps prevent sun and wind burn to the young plants. Hardening off plants increases successful transplanting.Using a Cloche to protect plants
Hardening Off Plants

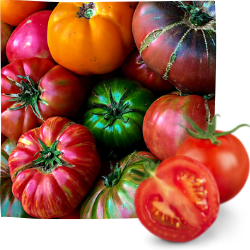
Now back to what we can plant and when we can plant it. Hands down, the most common plants asked about are tomatoes and peppers. Tomatoes and peppers, two of the longest season garden vegetables, prefer night temperatures to be above 50°F for about a week before they are planted. The ground needs to be consistently warm for them to do well. If we plant too early, and the night temperatures are still cold, plants set less fruit and are often more susceptible to problems like blossom end rot later in the season.

There are helpful tools like Season Starters that can be used to warm the ground earlier than traditional planting would allow. They should be set up for 7-10 days to warm the soil, before they are planted with your seedlings. Once planted, the plant protectors act as insulators against cold temperatures, much like a mini greenhouse. Generally, Season Starters can give you a jump start by several weeks. Set them up about April 15 and you can plant inside them a week later.

We hope this Frost Hardiness list will help gardeners know when it is safe to set out their plants. The actual dates vary, of course, with each area, but the principle is the same. Perennials that are not hardy in Colorado are listed as annuals. The hardiness of perennials is based on coming out of a protected climate.

To obtain maximum frost hardiness, HARDEN PLANTS OFF gradually by exposing them to sun, wind, and cold, but above freezing temperatures
for a few days
.

These dates are approximate for the Denver area. Safe dates vary from year to year, suburb to suburb, and even from one location in the garden to another. Covering plants on unusually cold nights will help protect them. On extremely cold nights it may be necessary to dig plants up and bring them inside.

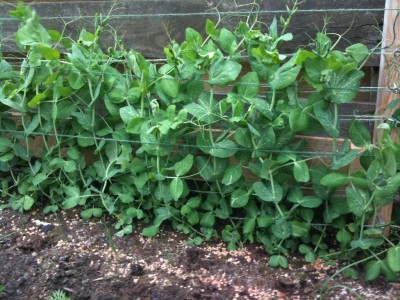
Very Hardy Plants–Plant Out up to 7 weeks
before last frost

(April 1 in Denver, April 10 in Golden & Parker)

Annuals:
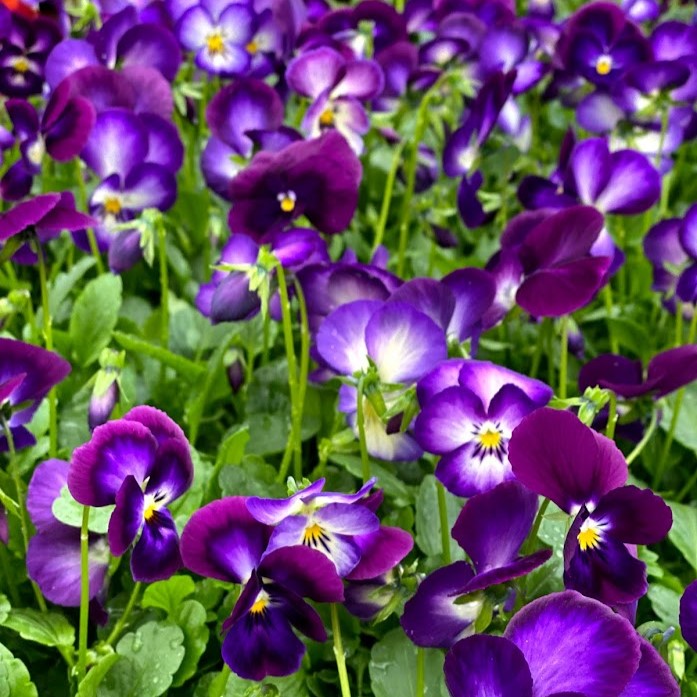
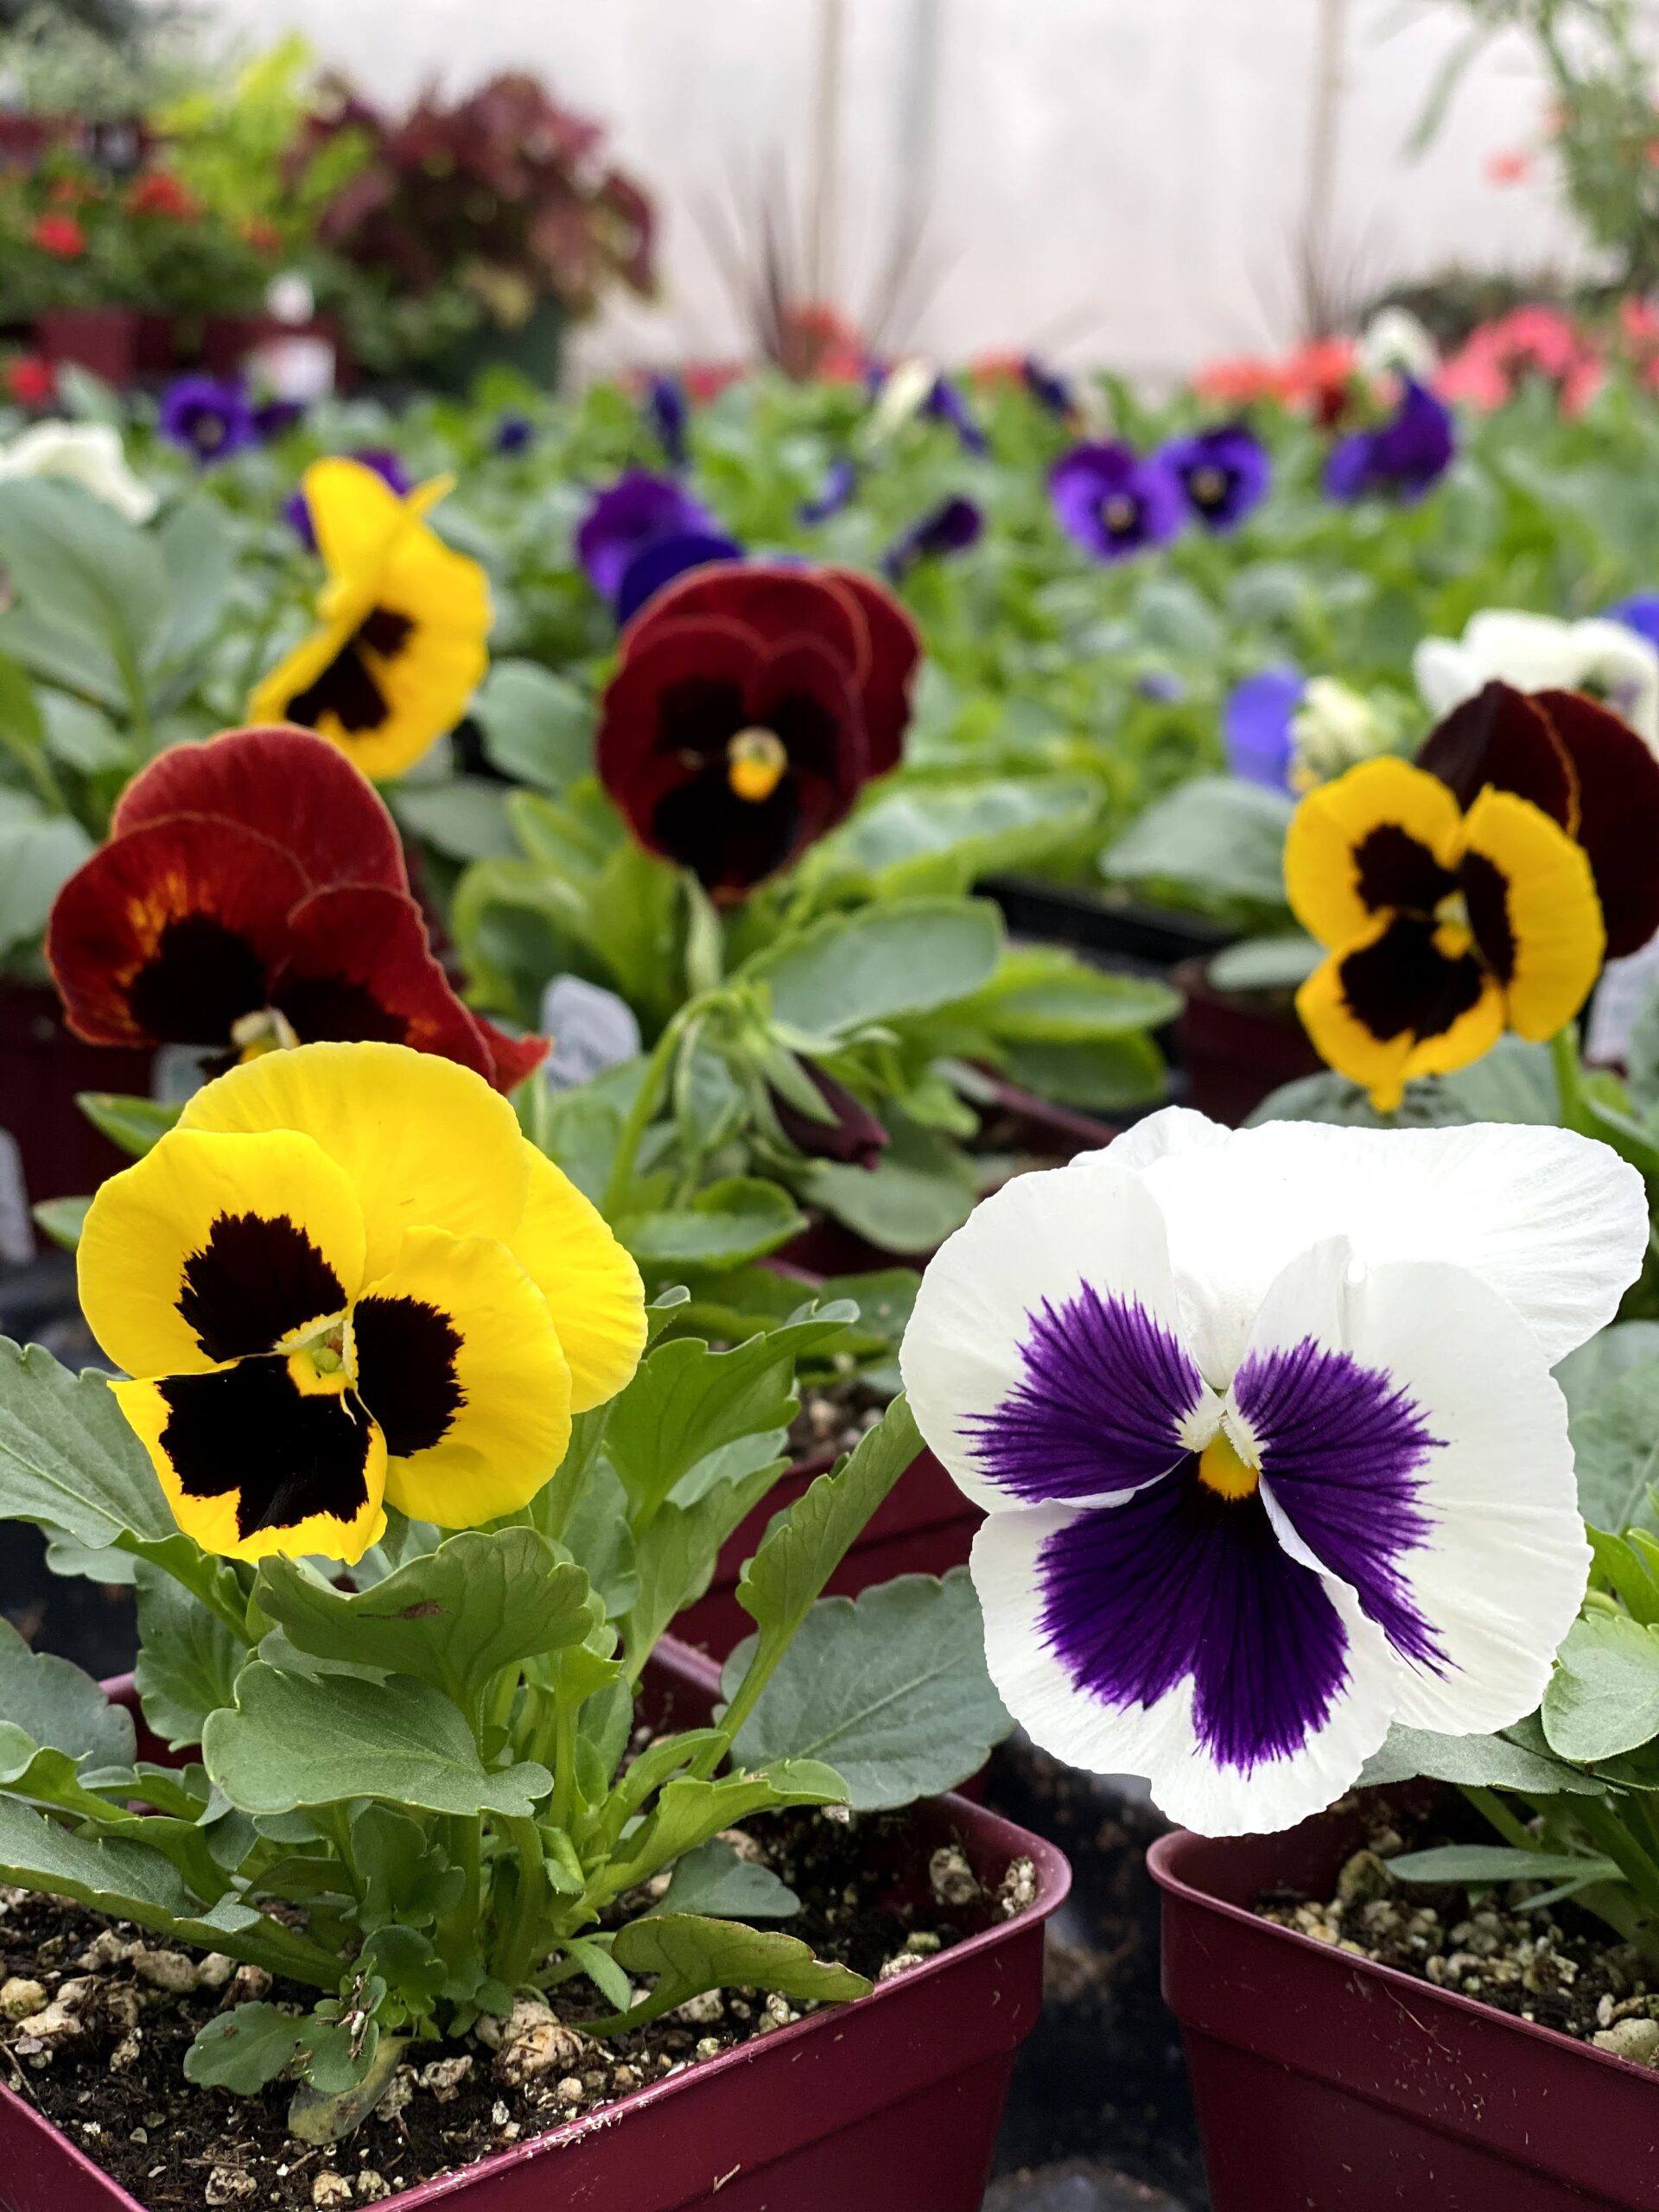
Alyssum, Anchusa, Centaurea, Dracaena, Dusty Miller, Larkspur, Nigella, Pansy, Snapdragon, Sweet Pea

Perennial Starts
Achillea, Aegopodium, Ajuga, Aurinia, Arabis, Armeria, Aubretia, Basket of Gold, Bishop’s Weed, Carnation, Creeping Phlox, Gayfeather, Hardy Hibiscus, Lavender Cotton, Liatris, Lobelia, Primrose, Primula, Rock Cress, Purple Rock Cress, Red Hot Poker, Santolina, Sedum, Thyme, Torch Lily, Tritoma, Viola, Yarrow

Vegetable Plants
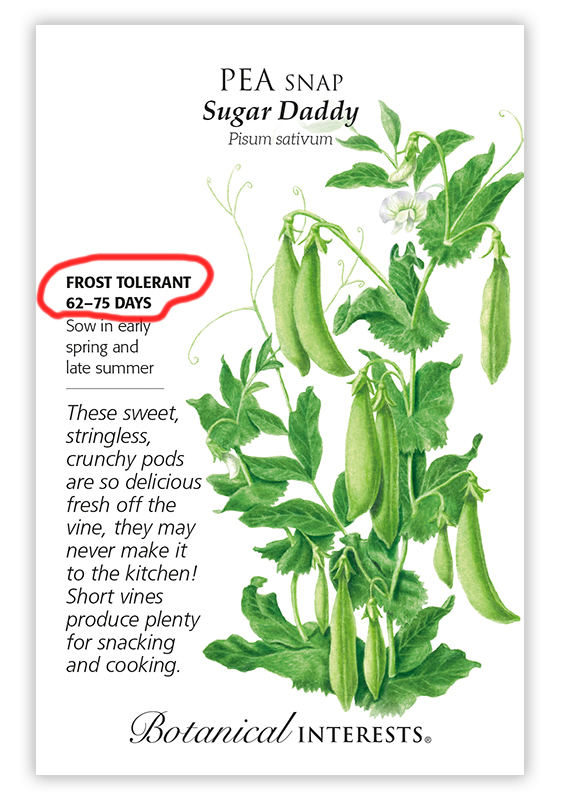
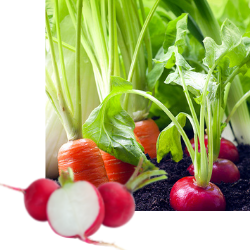
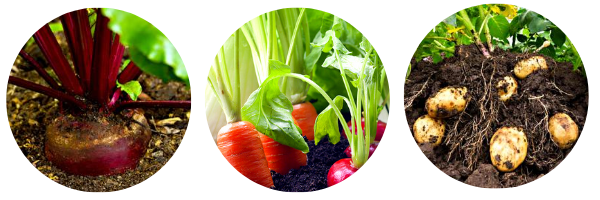
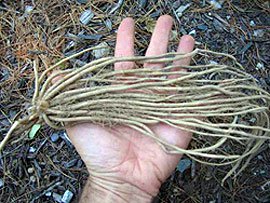
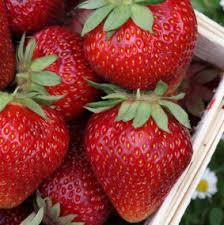
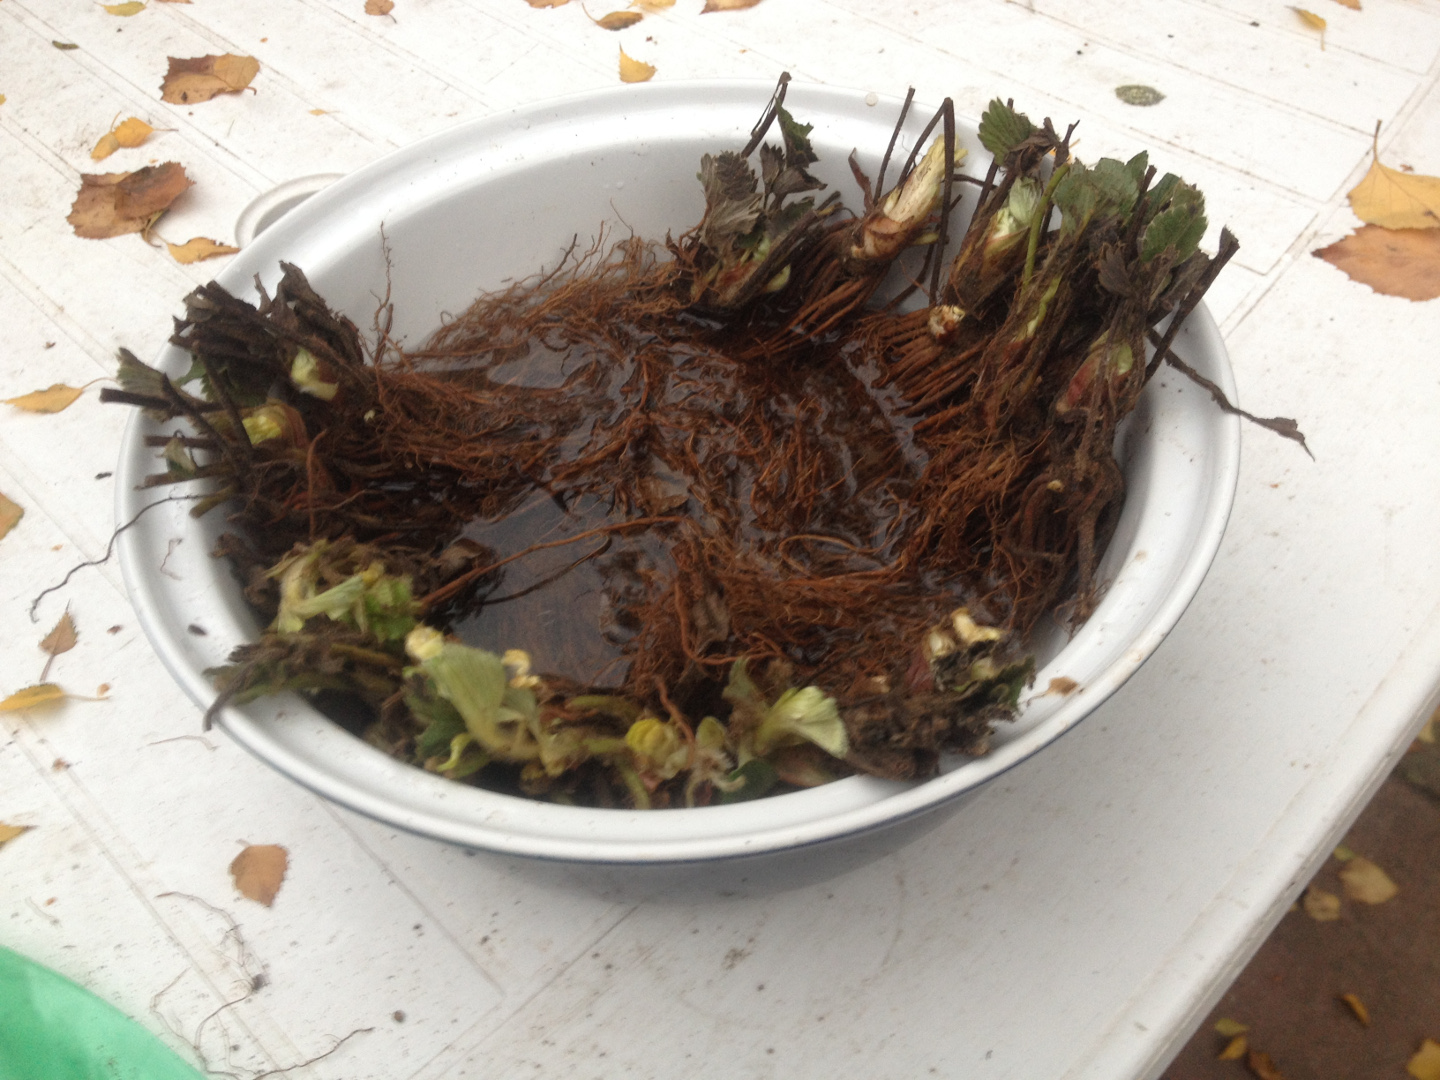
Asparagus, Chives, Fennel, Garlic, Onions, Peas, Potato, Radish, Strawberry

Hardy Plants–Plant up to 5 weeks before last frost
(April 20 in Denver, April 30 in Golden & Parker)

Annuals
African Daisy, Arctotis, Baby Blue Eyes, Calendula, Carnation, Dianthus, Diascia, Flowering Kale, Lobelia, Osteospermum, Phlox, Twinspur, Vinca Vine

Perennial Starts
Alstromeria, Anemone,Baby’ Breath, Bachelor Buttons, Bellis, Campanula, Candytuft, Centaurea, Cerastium, Columbine, Coral Bells, Coreopsis, Daylily, Dianthus, Digitalis, Doronicum, English Daisy, Erysimum, Festuca, Feverfew, Flax, Forget-Me-Not, Foxglove, Galium, Garden Mums, Gloriosa Daisy, Gypsophila, Helianthemum, Hemerocallis, Heuchera, Hollyhocks, Hosta, Iberis, Lavender, Lenten Rose, Lupine, Lunaria, Lysimachia, Maltese Cross, Matricaria, Mexican Feather Grass, Missouri Primrose, Money Plant, Myosotis, Oenothera, Painted Daisy, Penstemon, Tall Phlox, Pincushion Flower, Poppy, Pyrethrum, Roses, Rudbeckia, Scabiosa, Shasta Daisy, Snow-in Summer, Statice, Sweet William, Sweet Woodruff, Veronica, Violet
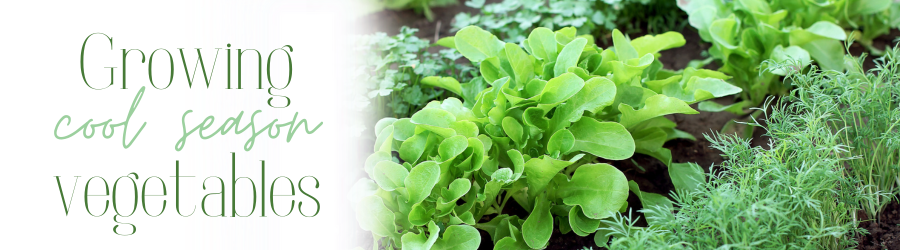
Vegetable Plants
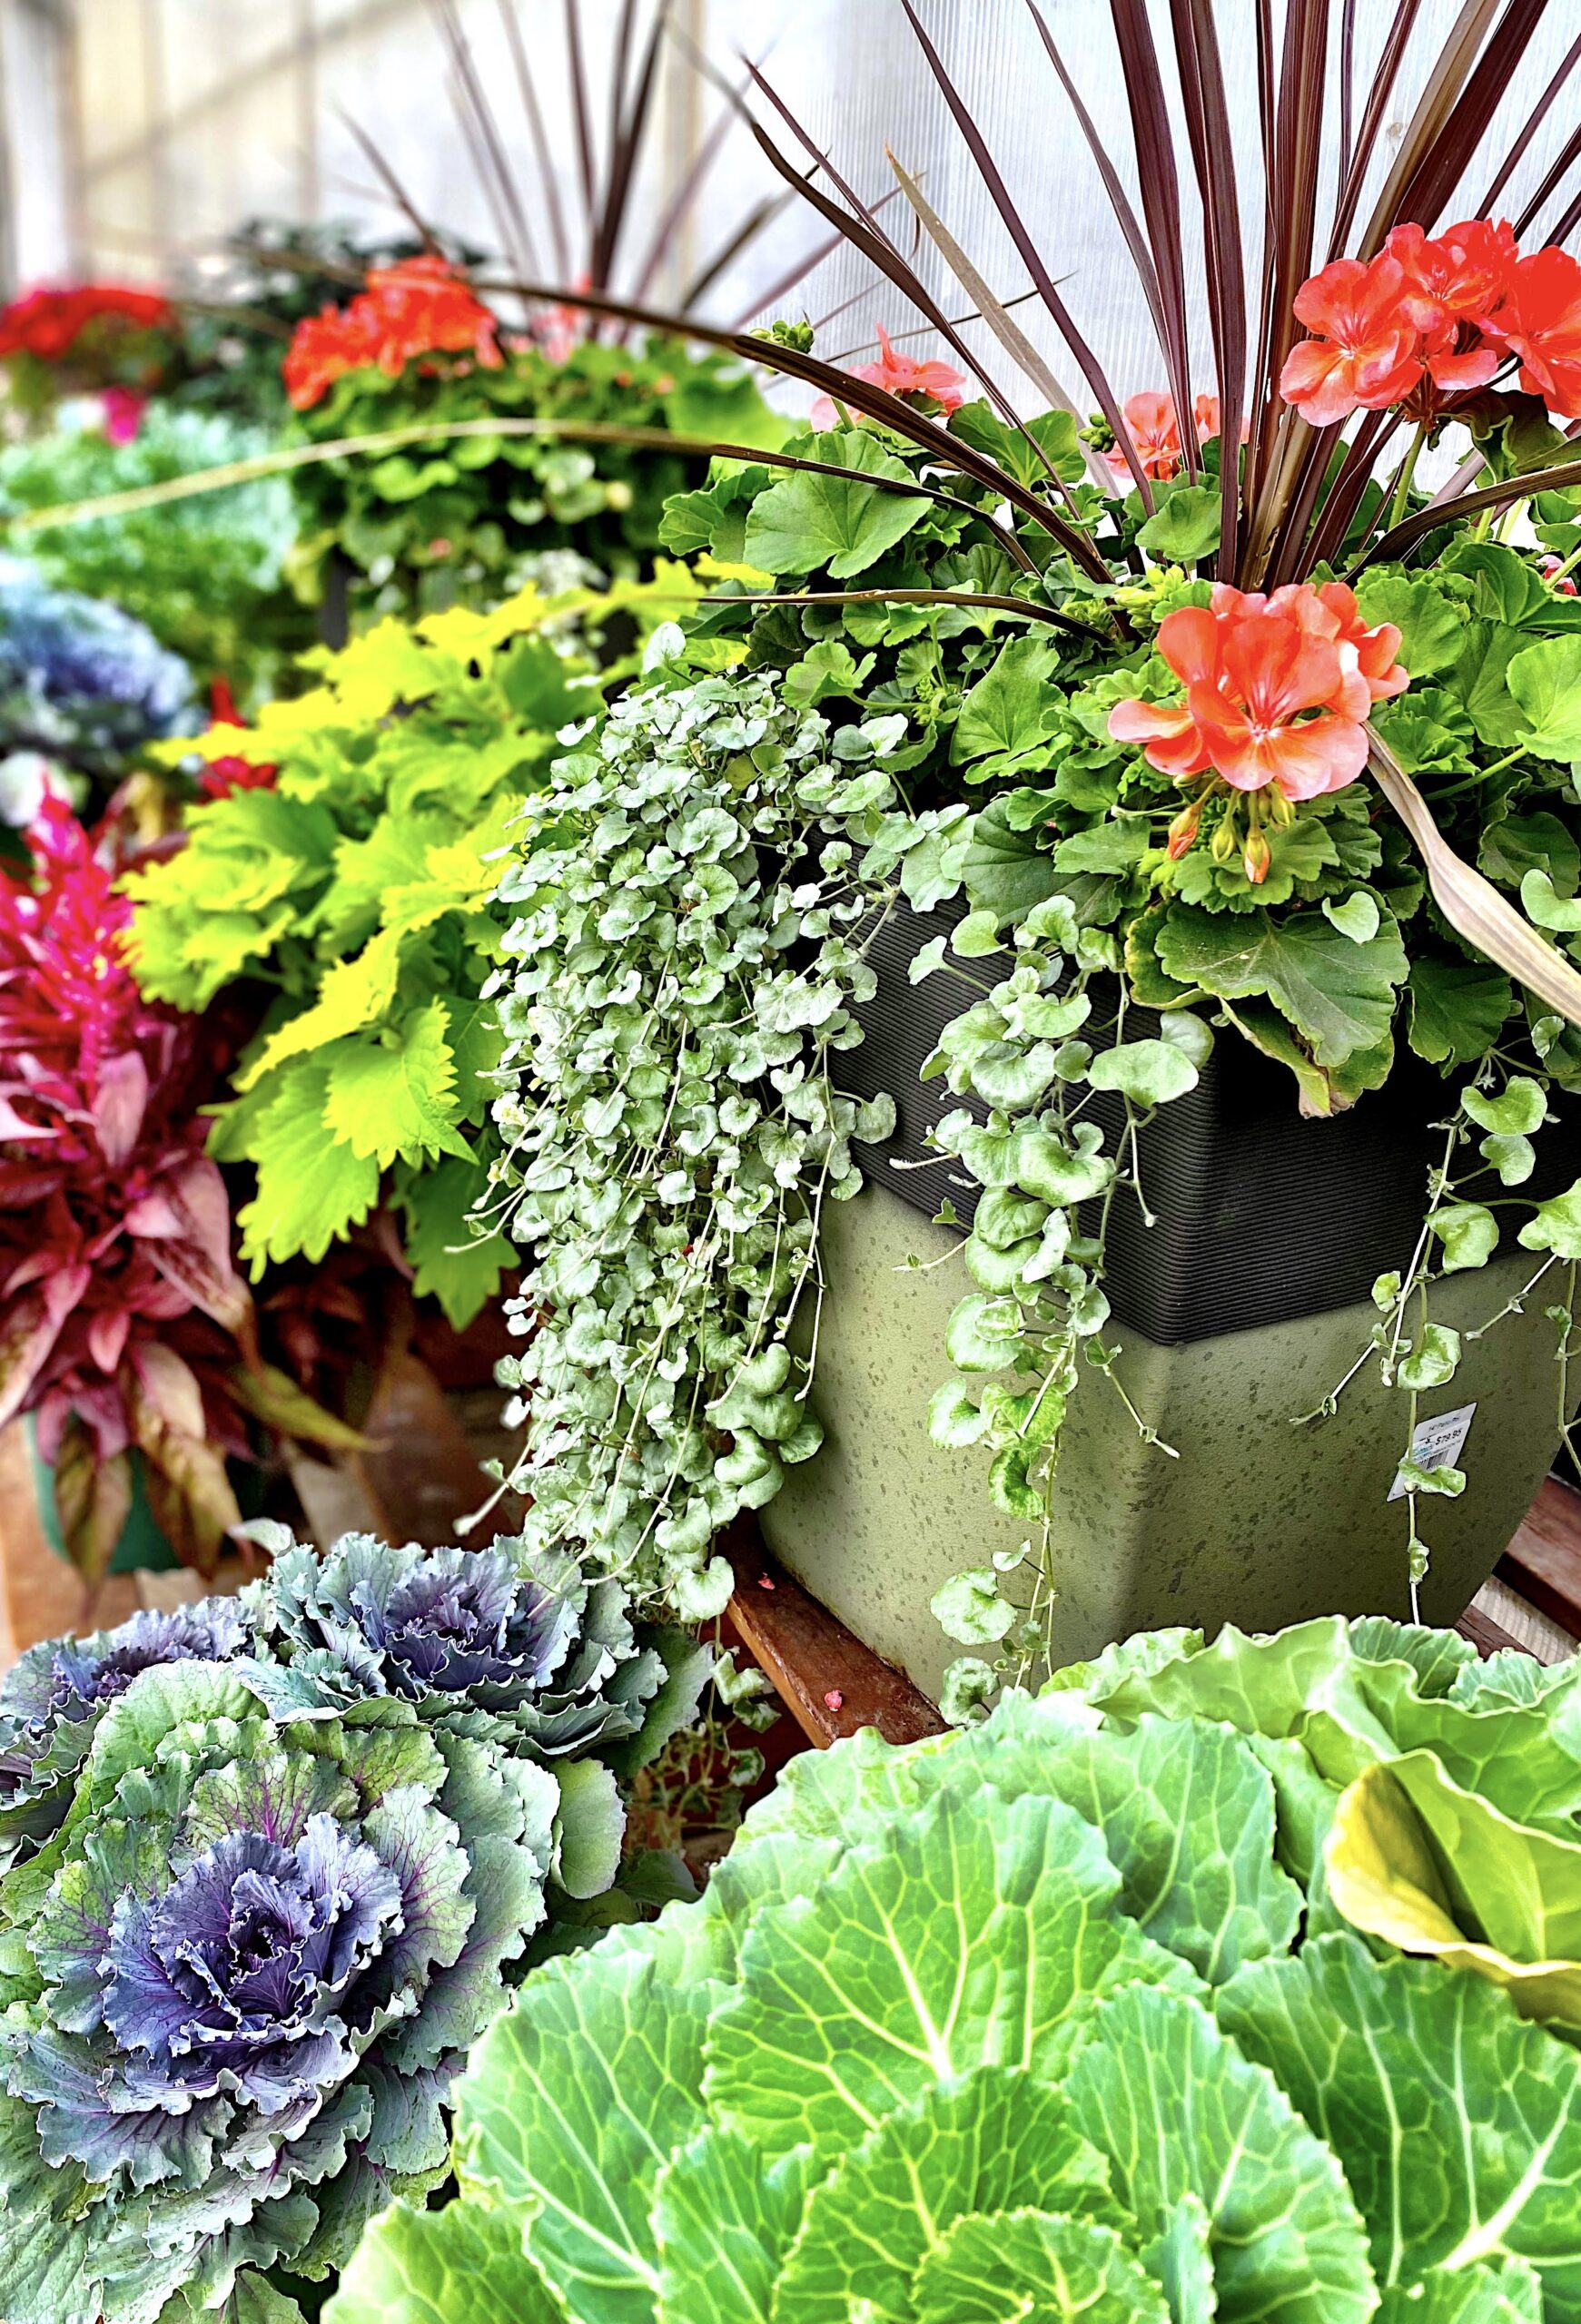
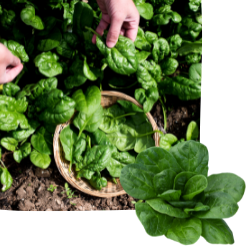
Broccoli, Brussels Sprouts, Cabbage, Cauliflower, Kohlrabi, Lettuce, Pak Choi, Perennial Herbs, Radicchio, Rhubarb, Spinach

Half-Hardy Plants–Plant out up to 3 weeks before last frost date.
(May 1 in Denver, May 10 in Golden & Parker)

Annuals
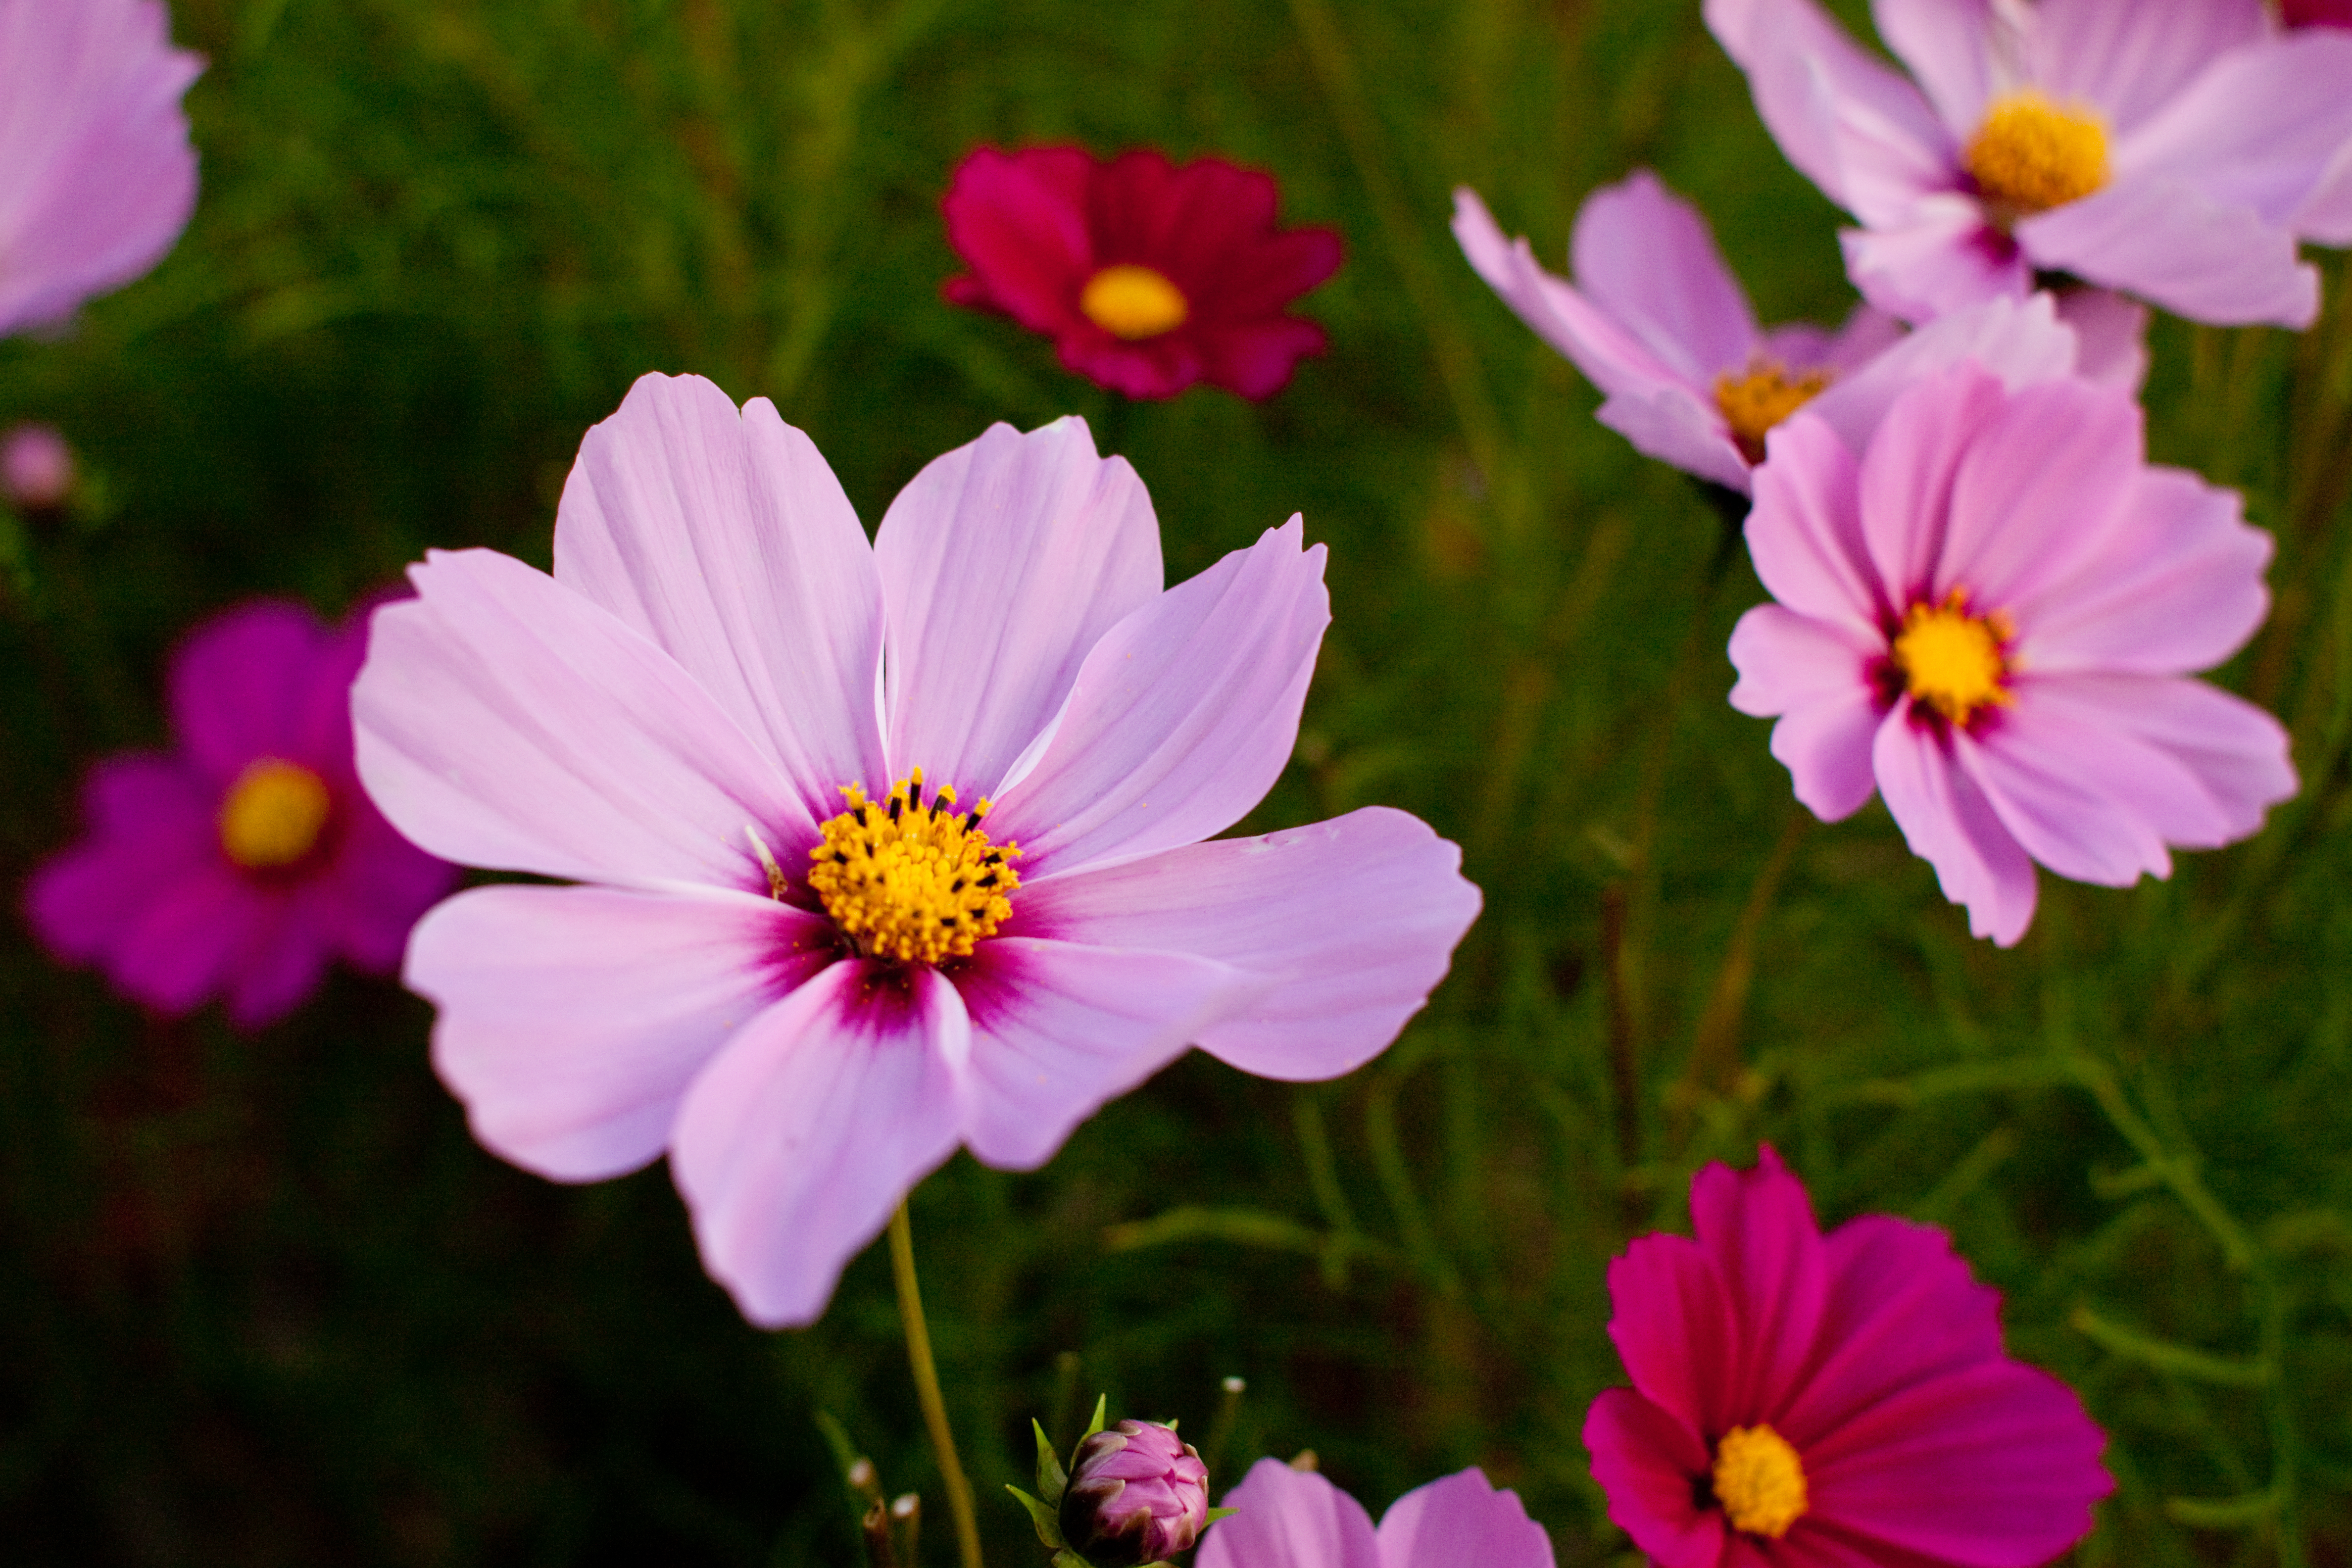
Anagallis, Angelonia, Angel’s Trumpets, Bacopa, Bells of Ireland, Blue Lace Flower, Calibrachoa, California Poppy, Campanula, Clover, Coreopsis, Cosmos, Creeping Zinnia, Datura, Dichondra, Didiscus, Fountain Grass, Gaillardia, Gazania, Gerbera, Gloriosa Daisy, Gomphrena, Lotus Vine, Ornamental Grasses, Petunia, Pennisetum, Phlox, Purple Bell Vine, Regal Geranium, Ruby Grass, Rudbeckia, Sanvitalia, Scarlet Pimpernel, Stocks, Strawflowers, Steirodiscus, Sutera, Sweet Peas, Sweet Sultan, Transvaal Daisy, Trifolium, Verbena, Xerianthemum


Perennial Starts
Artemesia, Hardy Asters, Astilbe, Balloon Flower, Bee Balm, Bleeding Heart, Delphinium, Echinacea, Euphorbia, Felicia Daisy, Geum, Gladiolus, Hibiscus, Hypericum, Monarda, Peony, Platycodon, Purple Coneflower, Roses, Salvia, Sagina, Saxifraga, Verbena

Vegetable Plants
Artichoke, Celery, Leek

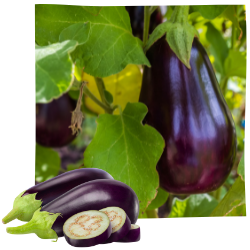
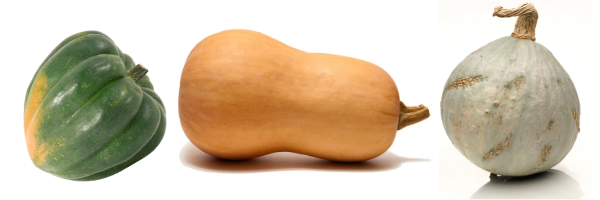
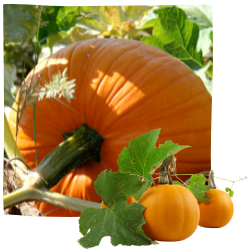
Tender Plants–Plant outside after almost all danger
of
frost has passed.
(May 20 in Denver, May 30 in Golden & Parker)

Annuals
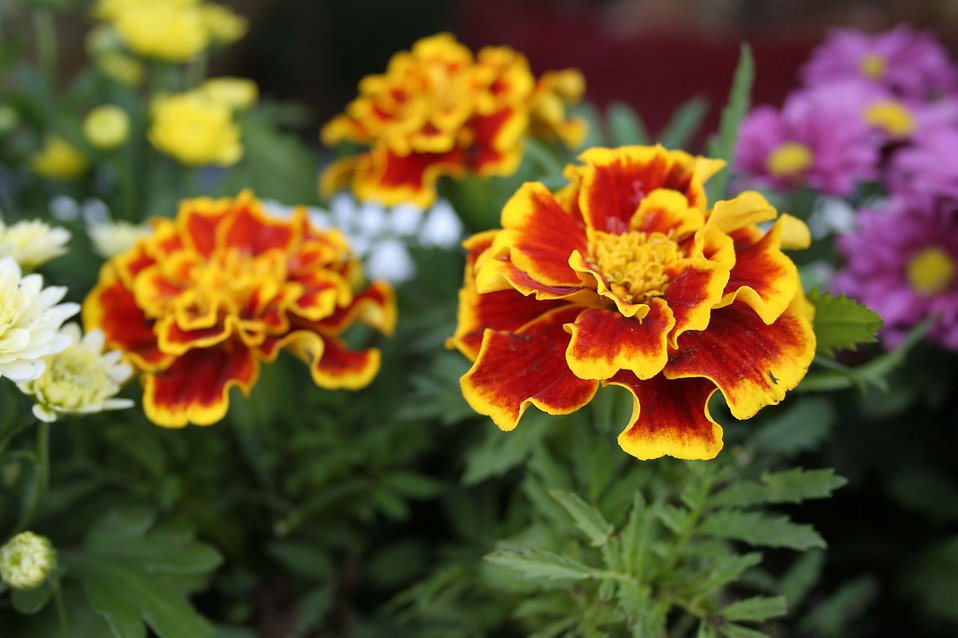
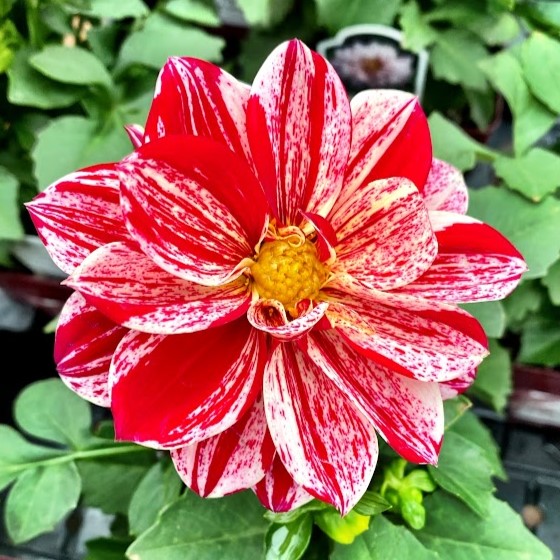
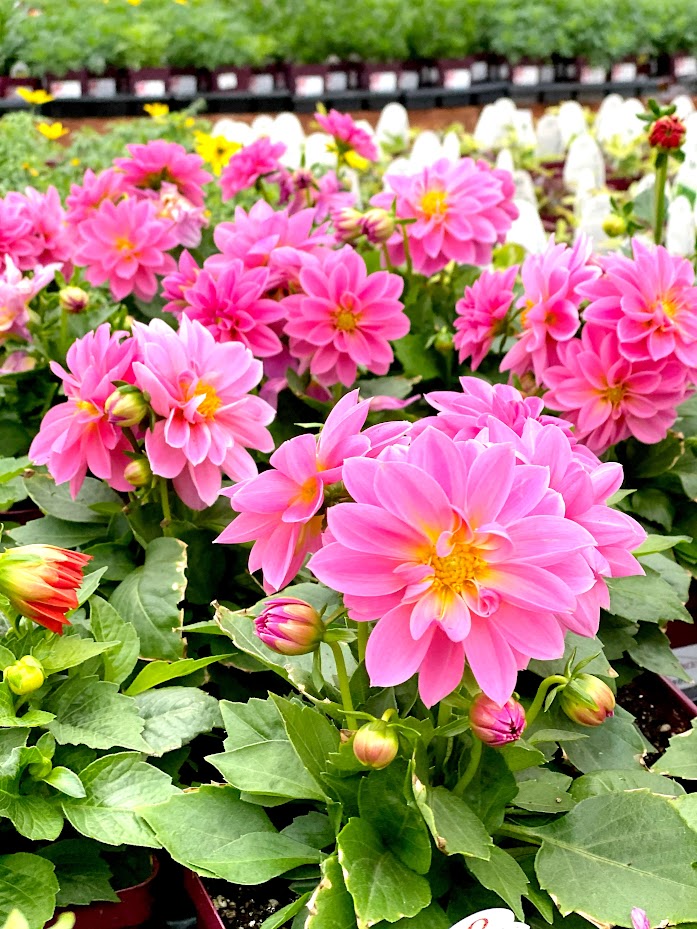
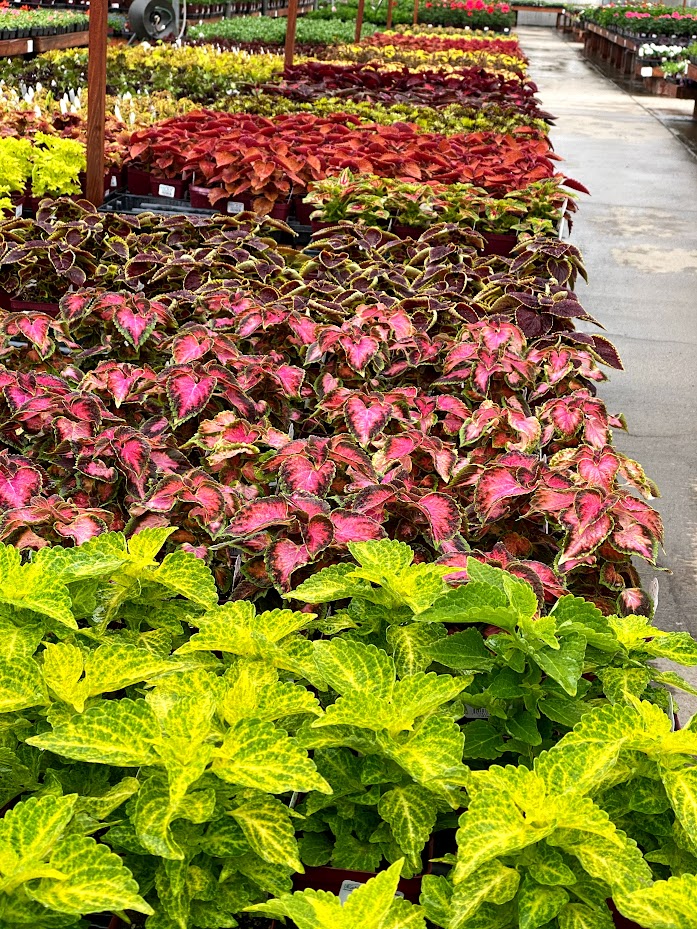
Abutilon, Achimenes, African Daisy, Ageratum, Argyranthemum, Alternanthera, Alternaria ,amaranthus, Asparagus Fern, Asters, Axilflower, Balsam, Banana, Begonia, Bidens, Black Eyed Susan, Bloodleaf, Blue Throatwort, Bougainvillea, Bower Vine, Brachycome, Browallia, Brunfelsia, Caladium, Calla Lily, Calliopsis, Canna, Cardinal Flower, Catharanthus, Celosia, Chrysanthemum, Chrysocephalum, Cigar Plant, Cleome, Coleus, Copperleaf, Crassula, Crossandra, Cuphea, Dahlberg Daisy, Dahlia, Dallas Fern, Dipladenia, Elephant Ears, Evolvulus, Fanflower, Fiber Optic Grass, Flowering Maple, Flowering Tobacco, Fountain Grass, Four O’ Clock, Fuchsia, Geranium, Gloriosa Lily, Firebush, Guara, Hamelia, Heliotrope, Hibiscus, Impatiens, Iresene, Jasmine, Lantana, Livingstone Daisy, Lisianthus, Lithospermum, Marguerite Daisy, Marigold, Mecardonia, Melampodium, Millet, Mimulus, Monkey Flower, Moon Vine, Morning Glory, Napa Valley Fern, Nasturtium, Nemesia, Nicotiana, Nierembergia, Nolana, Oleander, Oxalis, Painted Tongue, Pampas Grass, Pentas, Perilla, Periwinkle, Plectranthus, Polka Dot Plant, Polygonum, Portulaca, Salpiglossis, Salvia, Sanvitalia, Scarlet Runner Bean, Scaevola, Scutellaria, Schizanthus, Skullcap, Statice, Stoneseed, Streptocarpella, Sunflower, Swan River Daisy, Sweet Potato Vine, Thunbergia, Tithonia, Torenia, Trachelium, Trailing Portulaca, Tropical Hibiscus, Tropical Water Plants, Zinnia
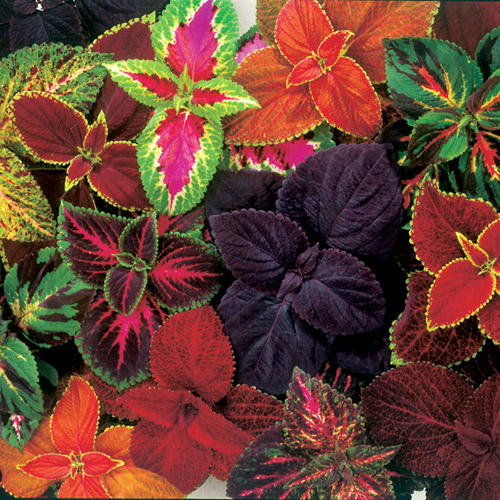
Vegetable Plants
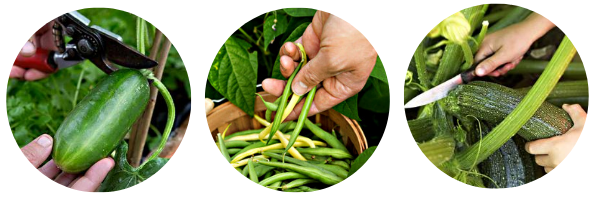
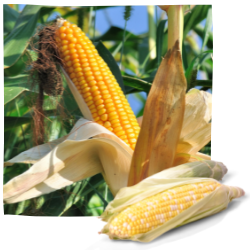
Annual Herbs, Cantaloupe, Corn, Cucumber, Eggplant, Okra, Peanut, Bell & Chile Peppers, Pumpkin, Squash, Sweet Potato, Tomato, Watermelon