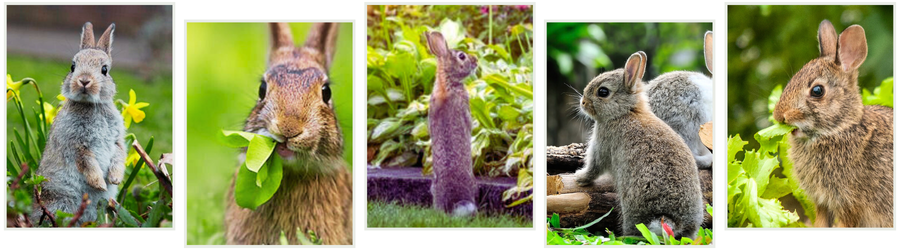
They’re furry, they’re cute, and in the garden … they’re a real problem! These critters can be one of a gardener’s most despised pests, capable of wiping out entire crops overnight. They seem to have an insatiable appetite for young, tender shoots and leaves, which makes a vegetable garden one of their favorite targets.
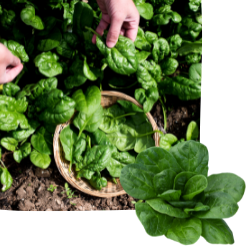
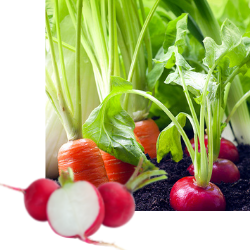
Rabbits are attracted to a wide variety of plants, especially in the early spring when tender new growth is abundant. They can quickly decimate rows of lettuce, spinach, carrots, and they’ll even nibble on fruiting plants like tomatoes and peppers. Their feeding habits not only stunt plant growth but can also leave plants vulnerable to diseases and pests.
Protecting your vegetable garden from rabbit damage requires a combination of strategies tailored to your specific garden layout and local rabbit population. While physical barriers like fencing are among the most effective methods, integrating natural repellents, strategic planting, and vigilant maintenance can significantly enhance your garden’s defenses against these persistent pests.
SIGNS OF RABBITS IN THE GARDEN
If you suspect these furry marauders may be visiting your garden, there are a few ways to detect their presence. If you see your plants completely disappear overnight — especially when they’re young tender shoots such as peas, Swiss chard, or pepper seedlings — it’s a pretty good bet that rabbits are responsible. Look for their pea-sized droppings, tufts of hair on fences, and spots that look like a small animal may have been digging. You’ll find plant damage that looks like it’s been trimmed with pruners rather than nibbled or chewed. Rabbits have both upper and lower incisors, so when they feed, they create a clean cut.
There are a number of strategies that can be employed to discourage rabbits and make your veggie garden a much less attractive buffet option. Many gardeners have found one, or a combination of several, of the strategies below worked for them.
CREATING PHYSICAL BARRIERS
One of the most reliable and effective ways to protect your vegetable garden from rabbits is by using physical barriers like fencing.
A sturdy fence around your garden perimeter, preferably made of hardware cloth or chicken wire with holes no larger than 1 inch, can effectively keep rabbits out. Make sure the fence is at least 2 feet high to keep rabbits from jumping over, and you’ll need to extend fencing at least 6 inches below ground to prevent them from burrowing under.
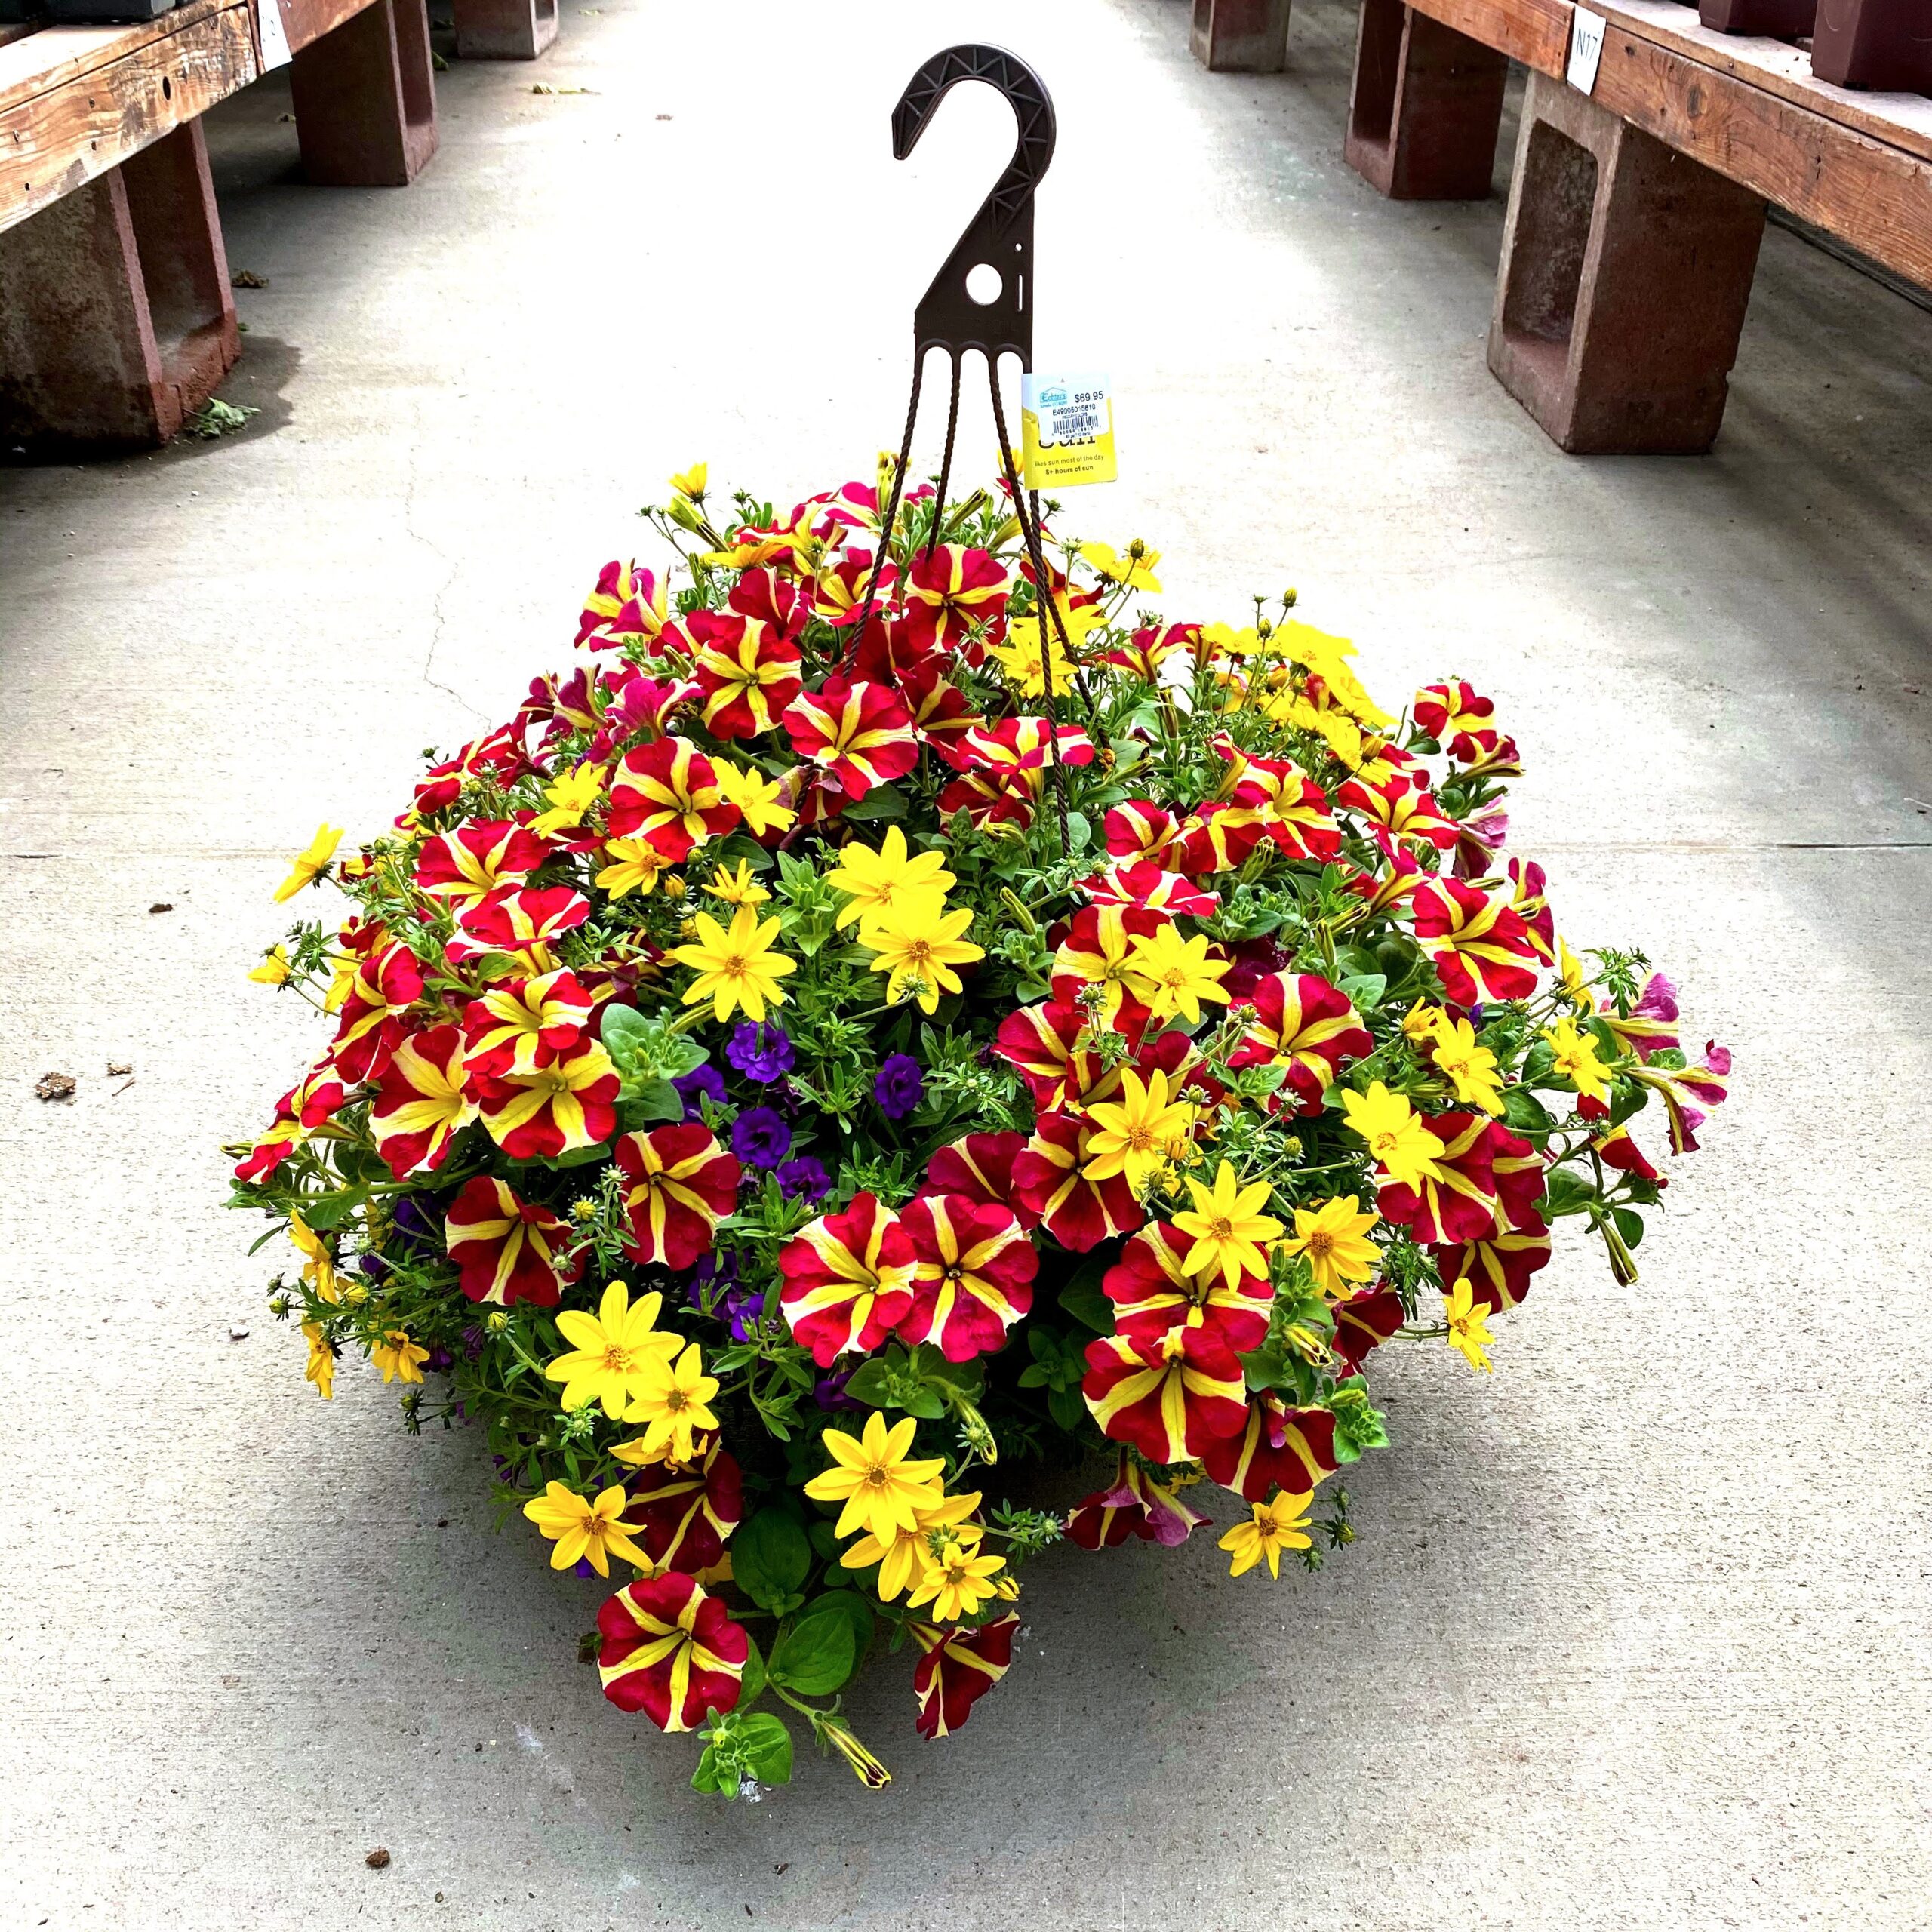
For individual plants or smaller areas, construct barriers from chicken wire or hardware cloth to form cylinders around each plant. Planting small crops like lettuce in a hanging basket is another creative way to put them safely out of reach of the local rabbit population.
Raised beds (if they’re at least 2 feet high) can be another effective way to lift enticing plants off the ground and keep them out of sight and out of reach for rabbits.
TRY INTIMIDATING OBJECTS
Rabbits may feel less welcome in your garden if they think there are predators nearby. Try placing artificial snakes or owls within sight of favorite vegetable crops to discourage rabbits.
Moving objects like pinwheels may help deter a rabbit. Try motion activated sprinklers that will spray when rabbits hop by. Whatever objects you try, be sure to move them around to different places in the garden now and then, or swap them out for new and unfamiliar objects.
SMART GARDEN DESIGN & PLANT SELECTION
Another helpful strategy is to plan your garden with rabbit-resistant plants in mind. While no plant is completely rabbit-proof, some are far less appealing to rabbits than others. Try interplanting susceptible crops with more rabbit-resistant plants to confuse their noses and discourage them from feasting on your prized vegetables.
Rabbits will tend to stay away from plants that have a pungent scent, so planting highly-aromatic herbs such as rosemary, mint, thyme, and sage will act as a deterrent. The same is true for anything in the onion family: chives, onions, garlic, allium, etc., tend to act as a natural repellent.
TRY RABBIT REPELLENTS
Some gardeners swear by repellents to deter rabbits. Rabbit repellents work either by releasing an unpleasant odor or by making desirable plants taste bad.
I Must Garden’s rabbit repellent is a spray which combines both of these strategies, and is biodegradable and completely safe for people, pets, and the environment. Bonide’s Go Away Deer & Rabbit Repellent works by using strong scents combined with white pepper (rabbits don’t like anything spicy!) which works as an irritant without causing harm.
While these methods can be effective, they will need to be reapplied after rain or irrigation, and their effectiveness can vary based on local rabbit populations. It’s always a good idea to alternate repellents so that rabbits do not get used to any scent or flavor. Rabbits do most of their feeding in the evening and into the night, so to be most effective, you’ll want to apply deterrents at the end of the day.
MAINTENANCE AND MONITORING
Regular garden maintenance is crucial in deterring rabbits. Keep your garden tidy by removing weeds, tall grasses, and any debris where rabbits might hide or nest. Check your fences and barriers regularly for any signs of damage or places where rabbits might be able to squeeze through.
By implementing these strategies and staying proactive throughout the growing season, you can enjoy a bountiful harvest of vegetables without sharing it all with the local rabbit population.