Winter may feel quiet in the garden, but there’s still plenty you can do now to prepare for a healthy, successful growing season. Late January and February offer valuable opportunities to check in on your landscape, care for indoor plants, and get organized for spring.
A little attention during the colder months goes a long way once warmer days return.
Start with the Big Picture: Winter Garden Check-Ins
As snow melts and temperatures fluctuate, it’s a good idea to step outside and take a look around your garden. Heavy snow, dry spells, and wind can all impact plants this time of year.
One of the most important winter tasks is monthly watering. When weather allows, water lawns, trees, shrubs, perennials, and bulb beds about once a month to prevent root damage and reduce disease issues later. Choose days above 40°F, water mid-day, and disconnect hoses afterward to avoid freezing.
Also take time to:
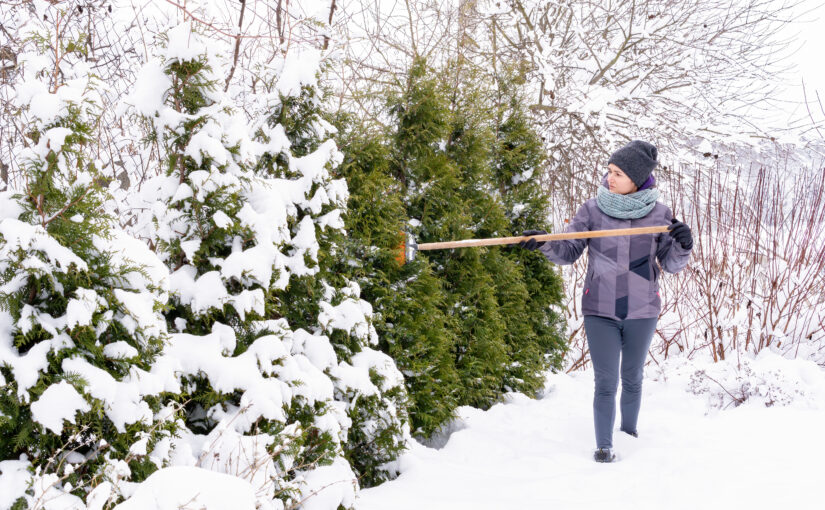
- Knock heavy snow off shrubs and tree branches using a broom (start low and work up)
- Check mulch around perennials, roses, and bulbs, replacing any that has blown away
- Pile chemical-free snow around plants when shoveling for added moisture
Caring for Lawns During Winter
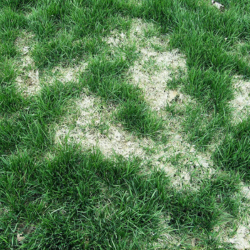
Shady lawn areas—especially on the north side of structures—can develop snow mold as snow and ice melt. If you notice matted or discolored patches, gently rake the grass to improve air circulation and help it dry out.
If you see narrow “trails” in your lawn, voles may be active. These rodents can damage turf and chew bark on trees and shrubs, especially junipers. Early awareness helps prevent more serious damage later in the season.
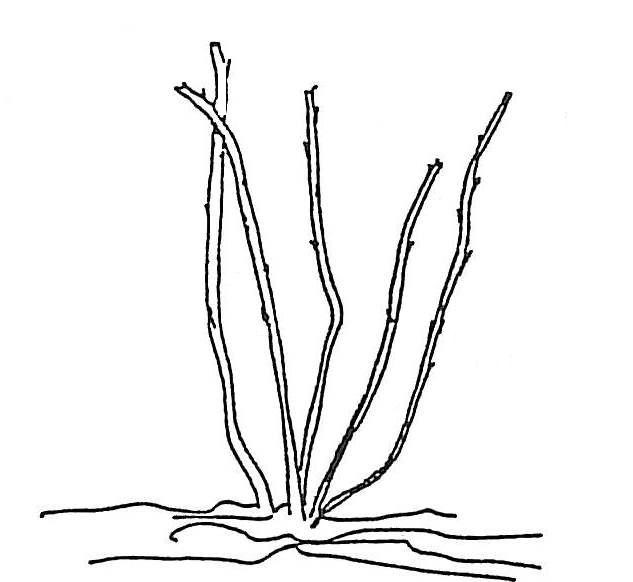
Late Winter Pruning & Tool Prep
Late winter is an ideal time for pruning many plants because their structure is easy to see without foliage.
Now is the right time to:
- Prune summer- and fall-blooming shrubs
- Shape deciduous trees and remove dead, damaged, or crossing branches
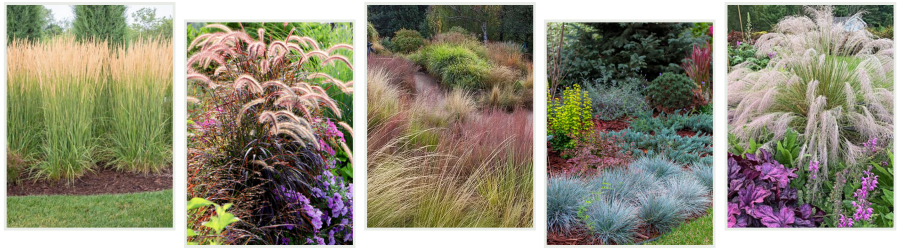
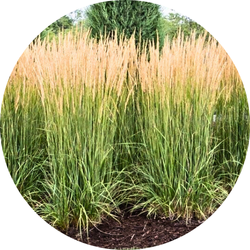
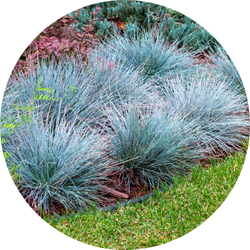
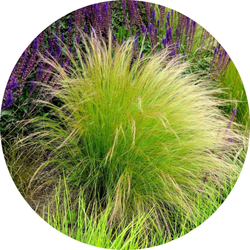
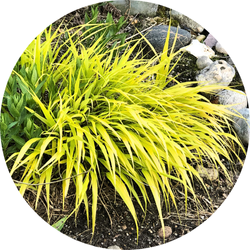
- Cut ornamental grasses back before new growth begins
- Prune grape vines in February
- Begin pruning fruit trees from February into early March
Before the busy season arrives, winter is also perfect for cleaning and sharpening garden tools. Remove dirt and rust, apply light oil to metal surfaces, or bring tools to Echter’s for professional sharpening- from pruners to mower blades.
Learn more about pruning and early spring preparation in our March classes (linked below).

Early Spring Punch list
March 7th, 2026 3:00-4:00pm

Pruning trees and Shrubs
March 8th, 2026 2:00-3:00pm
Dormant Oil: A Smart Preventative Step
If trees, shrubs, roses, or vines had insect or disease issues last year, applying dormant oil on a mild winter day can help prevent problems this season. Dormant oil works by smothering overwintering insect eggs before spring growth begins.
We recommend Bonide All-Seasons Dormant Oil.
Tip: Avoid spraying blue spruce, as needles may discolor.
Planning Vegetable & Flower Gardens
While winter limits outdoor planting, it’s a great time to plan. January and February are ideal months to:
- Purchase flower and vegetable seeds for the best selection
- Take inventory of seed-starting supplies like pots, flats, and soil
- Sterilize reused containers or replace worn supplies
- Add a propagation heat mat for quicker, more uniform germination
Testing your soil now helps you understand pH and nutrient needs before planting. Amendments can be worked into the soil early so beds are ready when spring arrives.
Asparagus beds benefit from added manure, and winter planning is also a great time to try something new alongside family favorites.
Learn more about vegetable gardening and starting plants from seed in our March classes (linked below).

Vegetable Gardening 101
March 8th, 2026 11:00am-12:00pm

Starting Plants from Seed
March 14th, 2026 10:00-11:00am
Indoor Plants: Winter Care & Enjoyment
Houseplants bring life indoors during winter, but they also need the right conditions to thrive. If a plant struggles, check five key factors: light, temperature, nutrients, moisture, and humidity.
Winter favorites include:
- Cyclamen, which prefer cool, bright locations
- Holiday cacti, which bloom best in bright light and cooler temperatures
- Citrus trees, which thrive in sunny windows and reward patience with fragrant blooms
- Herbs, grown from seed or plants, for fresh winter cooking
If fungus gnats appear, allow soil to dry at least one inch between waterings. Sticky traps catch adults, and biological controls like Mosquito Bits help manage larvae.
Helping Birds Through Winter
Winter is a demanding season for birds, and feeding them makes a real difference. Offer a mix of seeds such as sunflower, safflower, and nyjer, and don’t forget suet for insect-eating birds.
Birds also need:
- Unfrozen water for drinking and bathing
- Shelter, such as dense shrubs, evergreens, and birdhouses
- Squirrel-resistant feeders when needed

A Little Effort Now Goes a Long Way
Late winter gardening isn’t about doing everything- it’s about doing the right things at the right time. Small tasks now help prevent problems, save time, and create a smoother transition into spring.
If you ever have questions, Echter’s Plant Doctors are available! Bring in samples when possible for the most accurate diagnosis-we’re always happy to help.
Spring will be here before we know it!


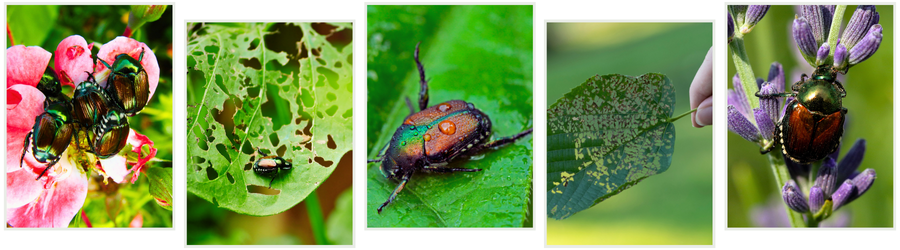

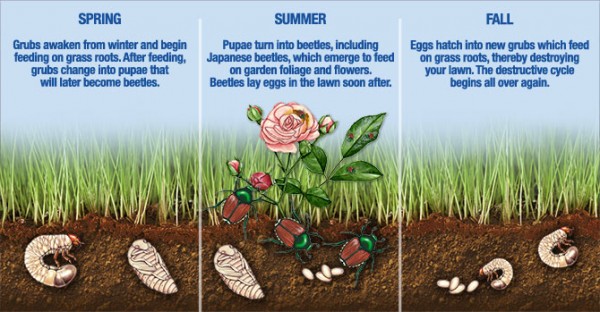

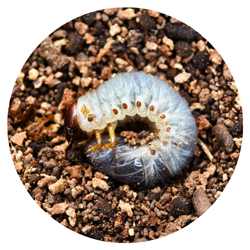


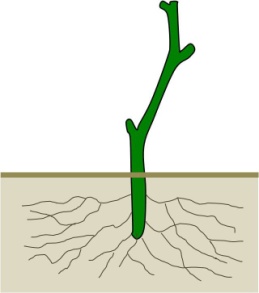 Image provided by CSU extension
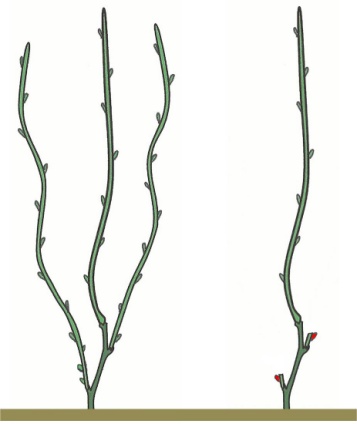 Image provided by CSU extension
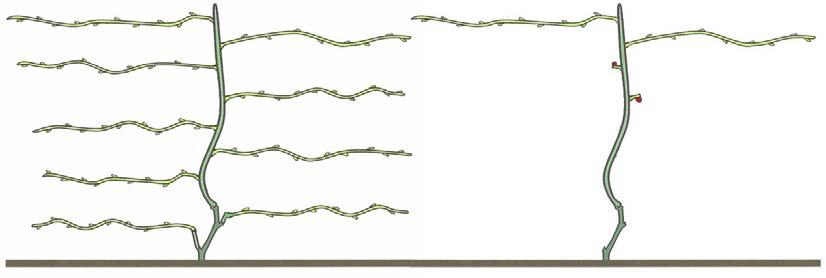 Image provided by CSU extension
 Image provided by CSU extension